Crop Operations
1 Prepare Crop Materials
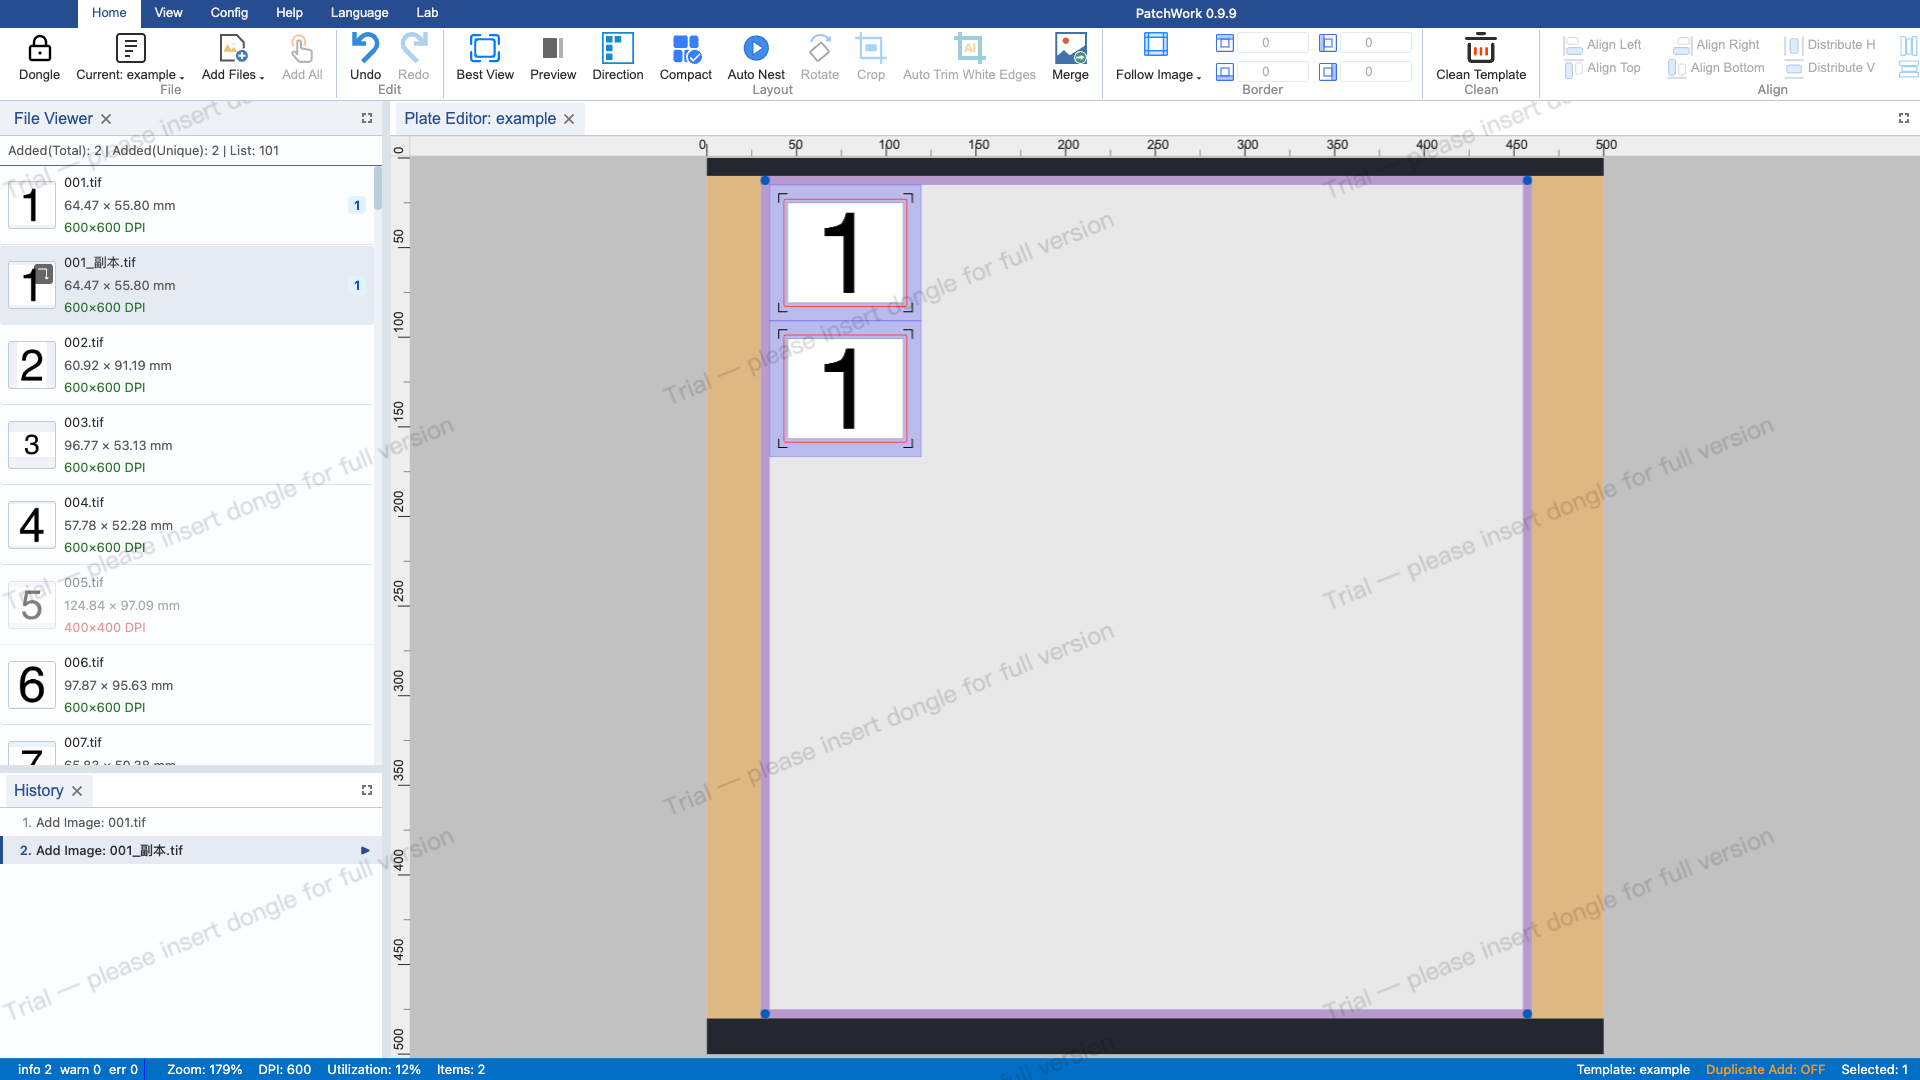
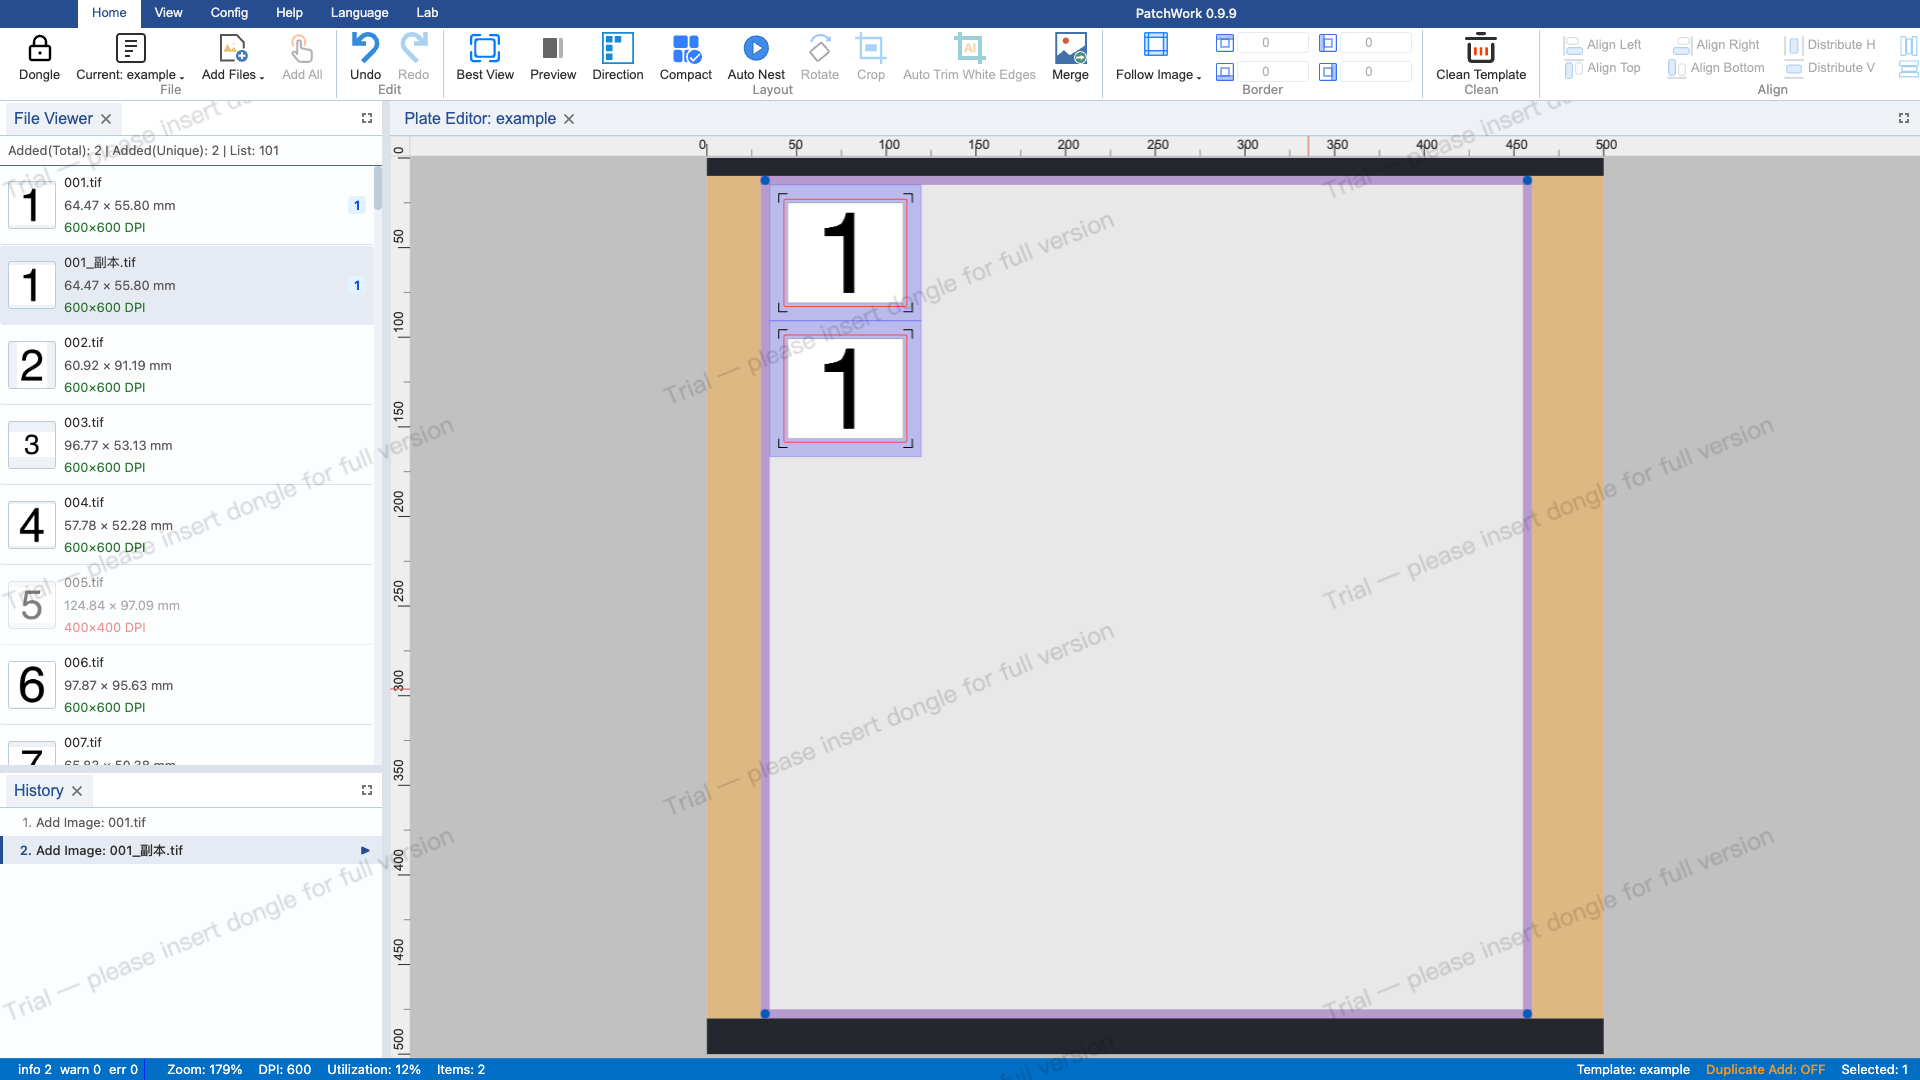
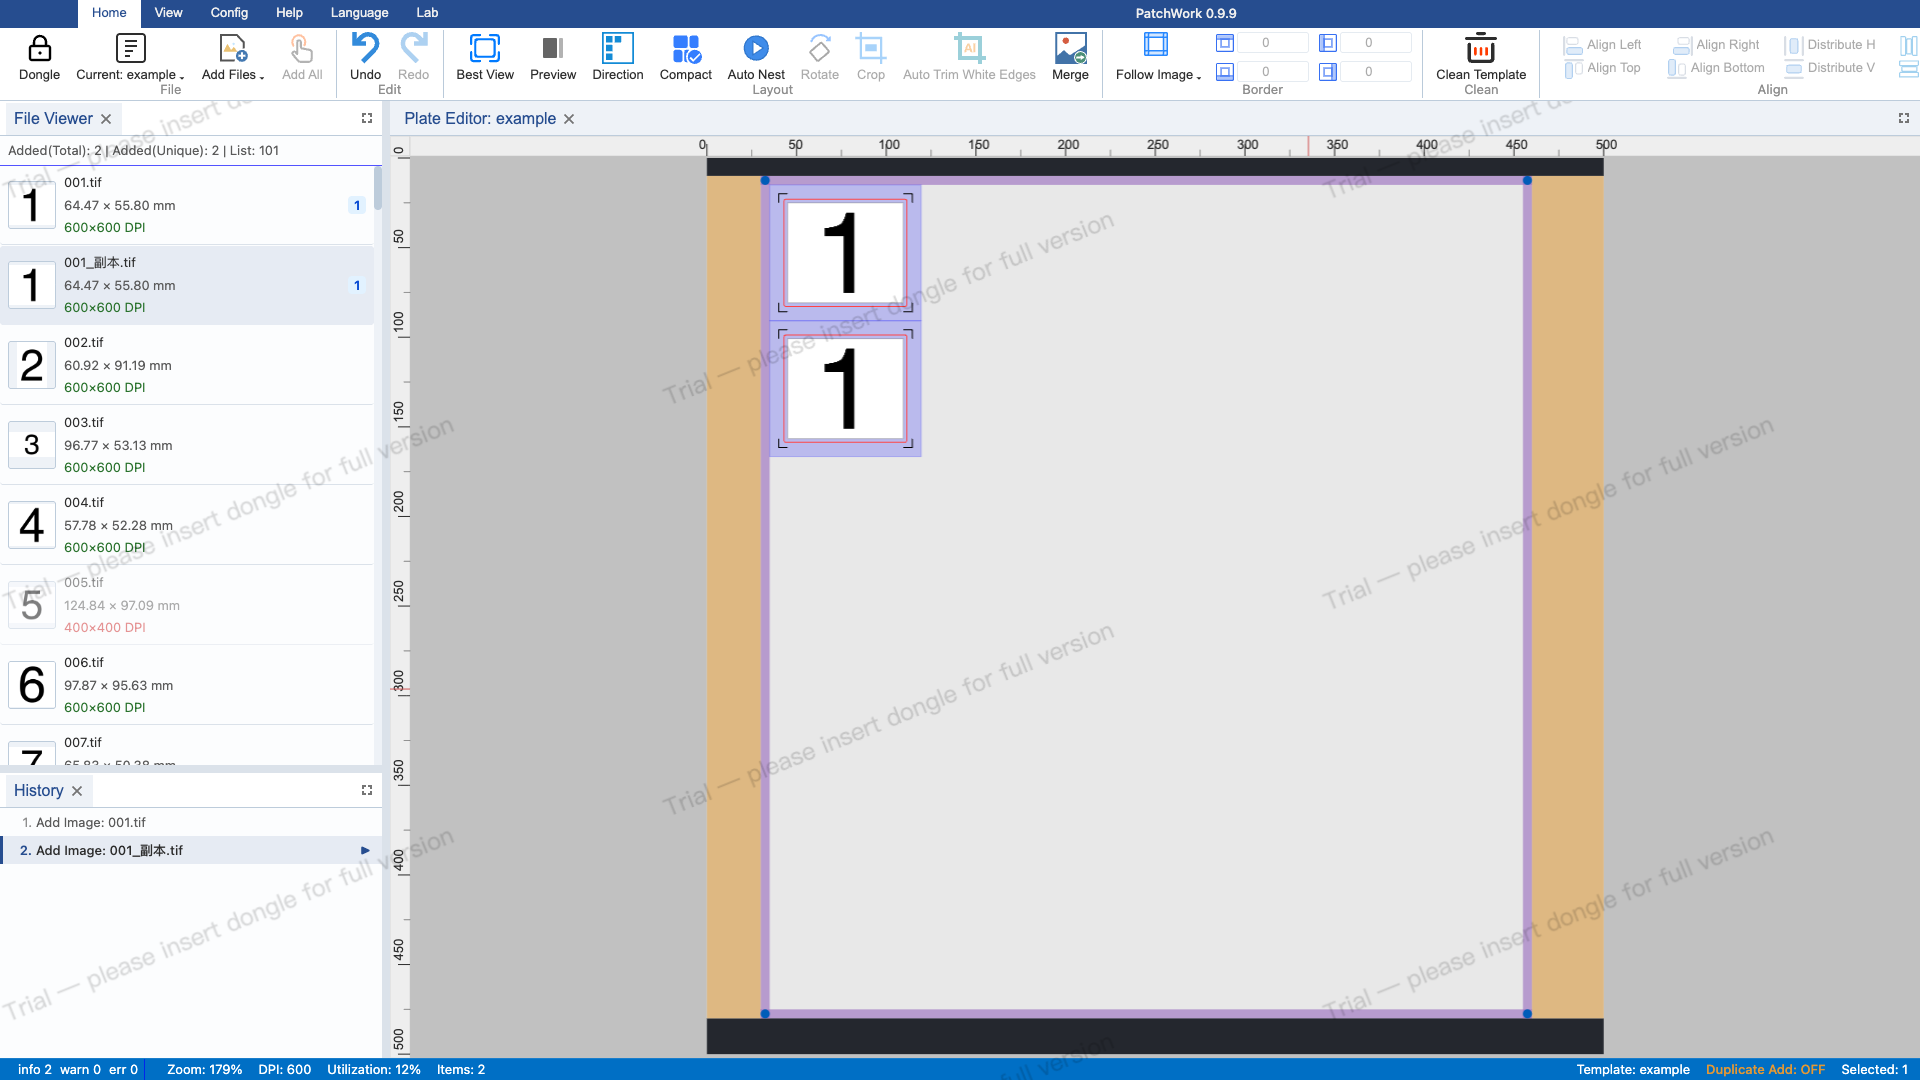
Load the example preset template, switch to the file list, and double-click matching DPI images to add to the plate for crop operations.
2 Select Image and Enter Crop Mode
Switch to the plate panel and select the first image. Enter crop mode via the "Crop" option in the right-click context menu. The crop panel opens automatically showing the crop canvas.
3 Auto Trim White Edges
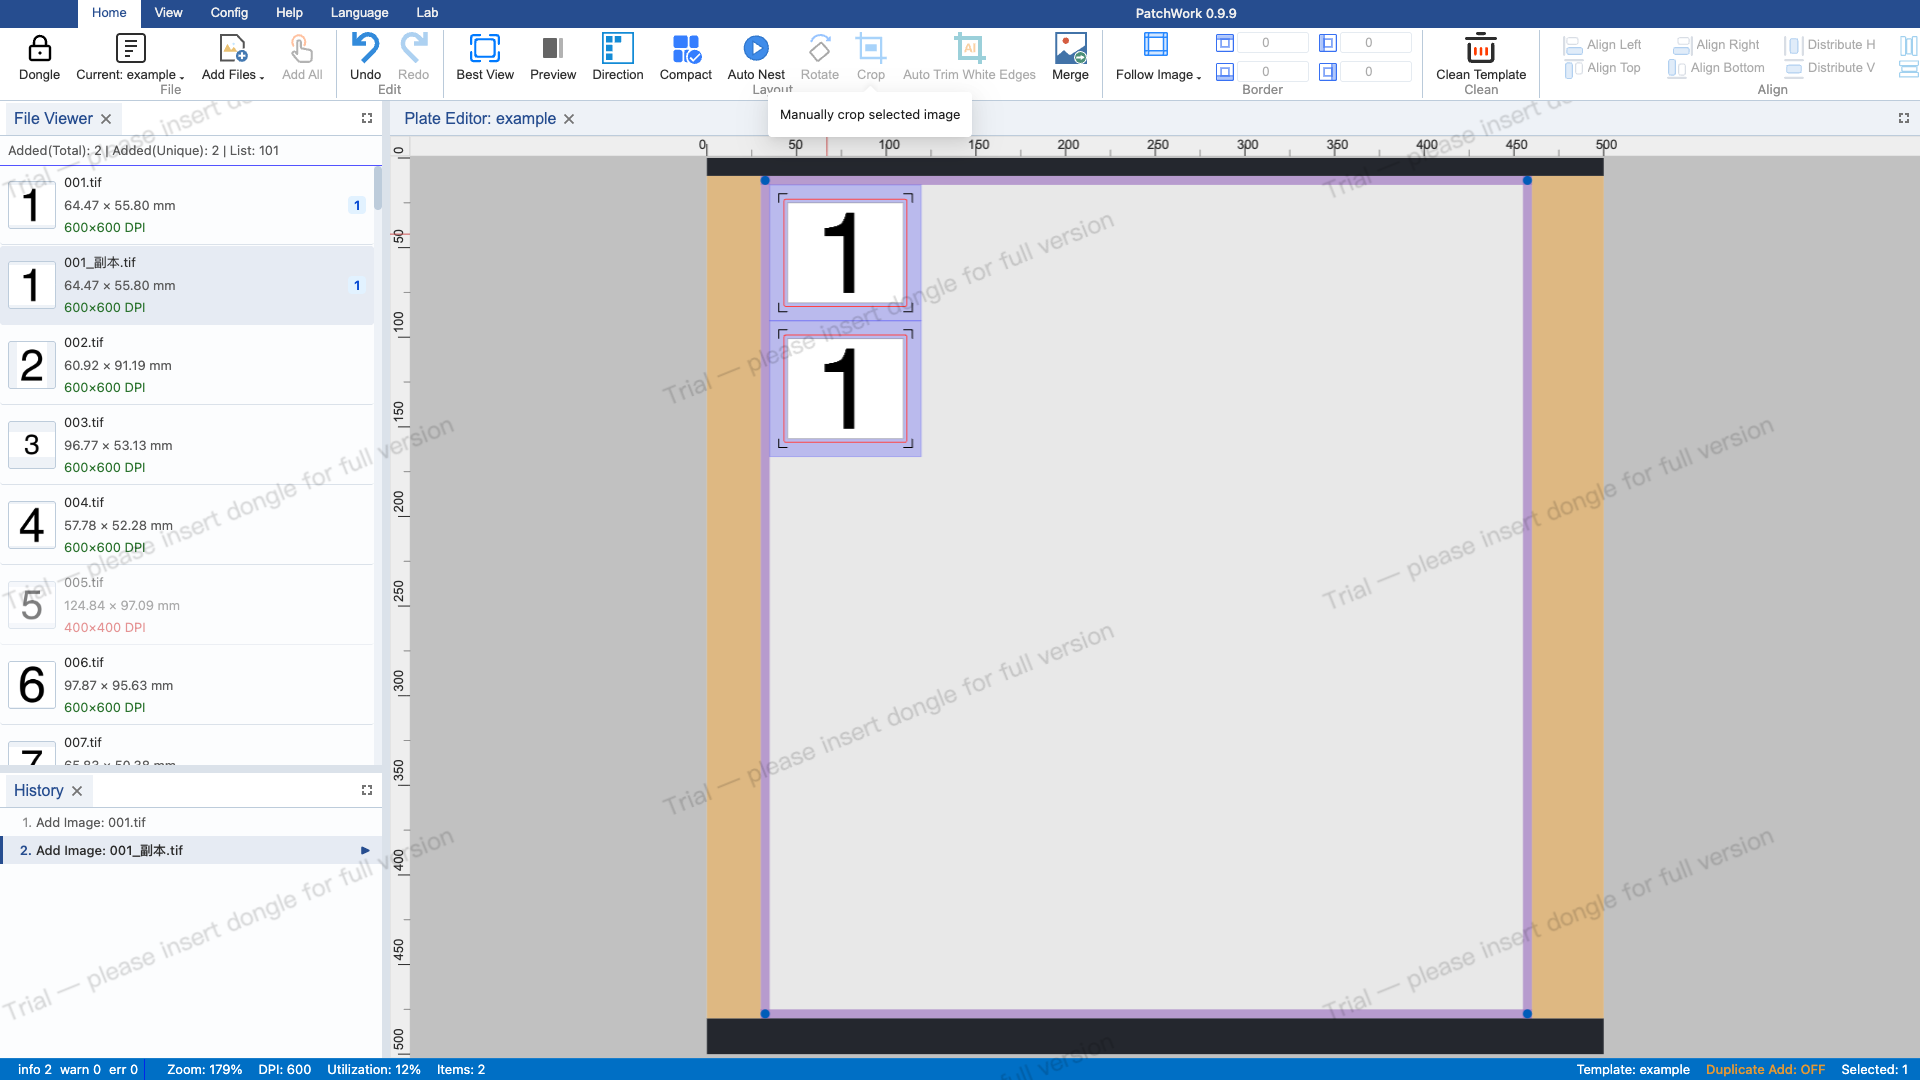
Click the "Auto Trim White Edges" button in the crop controls. The system automatically detects white edges and fills the crop input fields. The button shows "Processing" during computation.
4 Drag Crop Handle
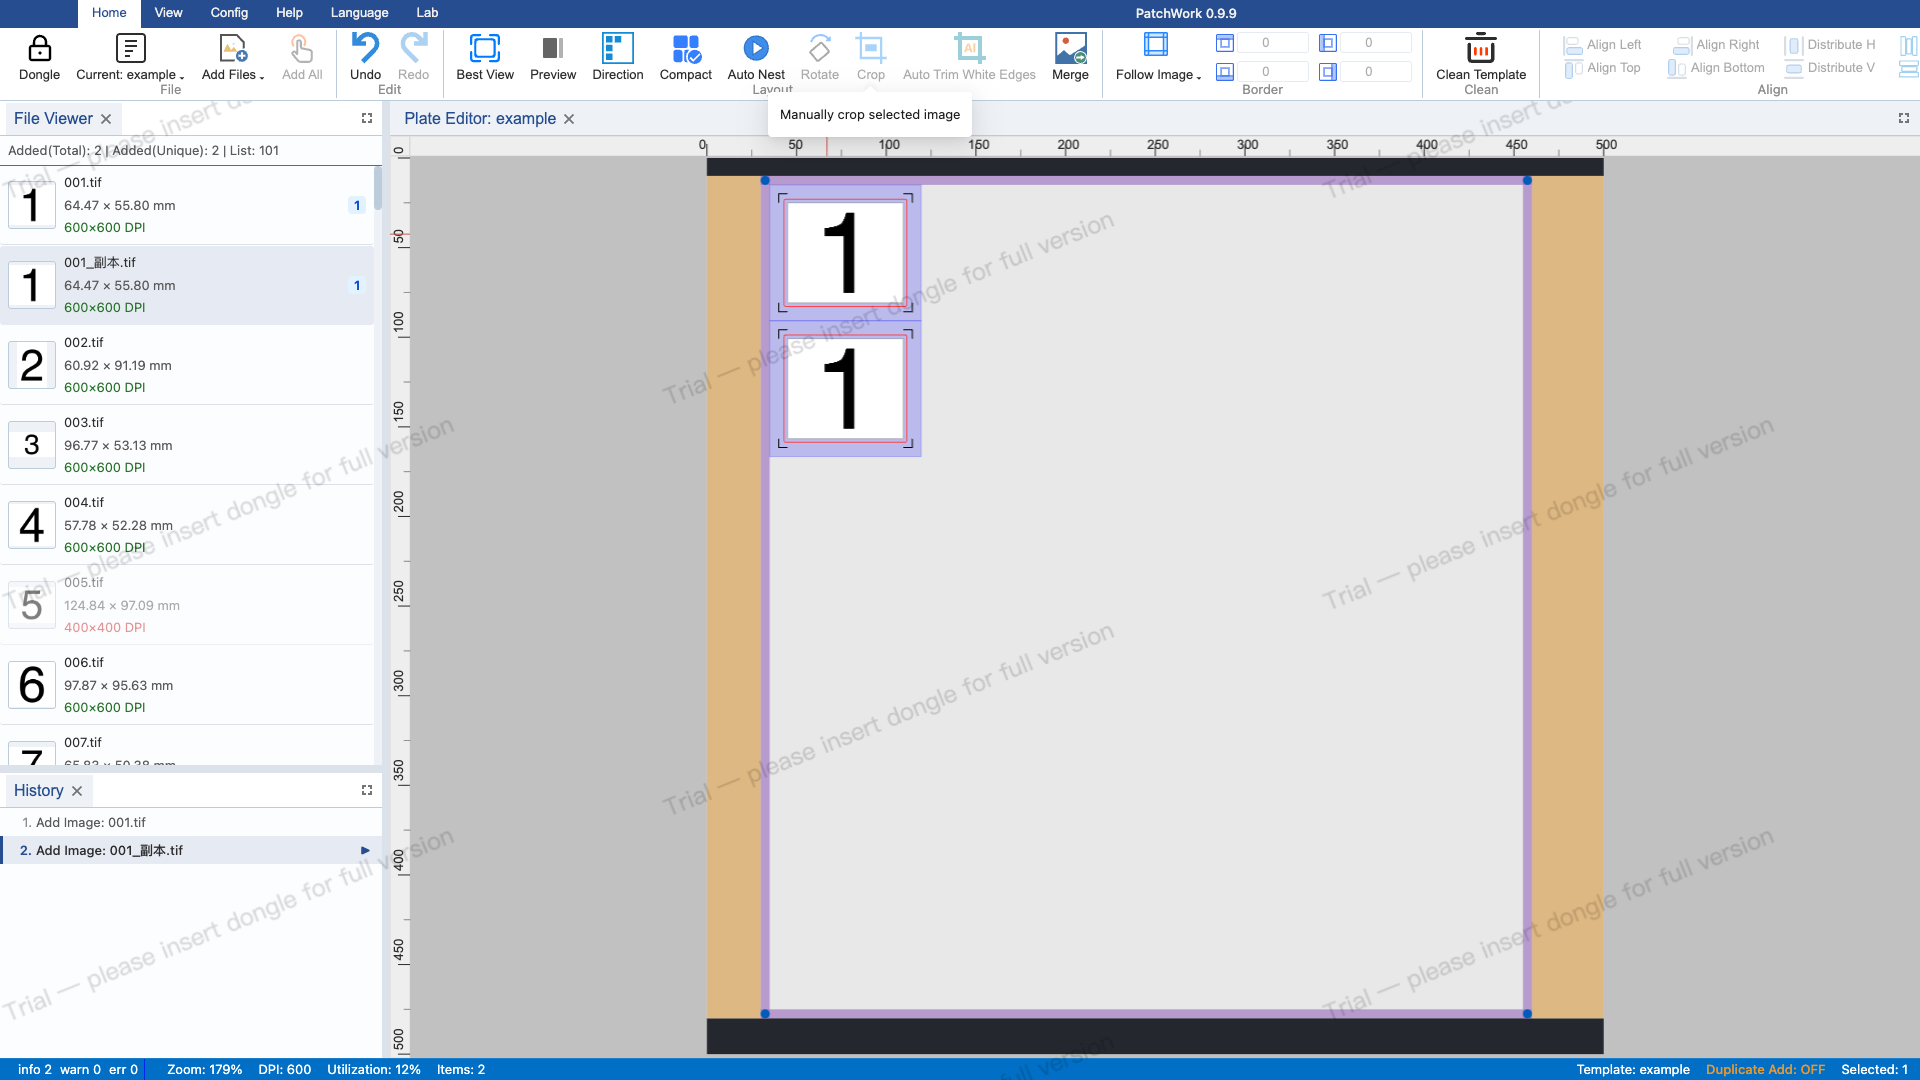
Click "Reset" to clear previous crop settings, then drag the bottom-right corner handle in the crop canvas to define a new crop area. The red crop rectangle and dark mask update in real time.
5 Precise Crop by Values
Click "Reset" again to clear crop settings, then enter precise crop values (in mm) in the top, bottom, left, and right input fields in the crop controls for precise cropping.
6 Undo Crop Operations
Press Escape to exit crop mode and return to the plate panel. Press Ctrl+Z multiple times to undo all crop operations. The system supports full undo/redo with crop commands recorded in command history.