Plate Basics
1 Load Example Template
Click the template dropdown and select the example preset to load plate configuration and images.
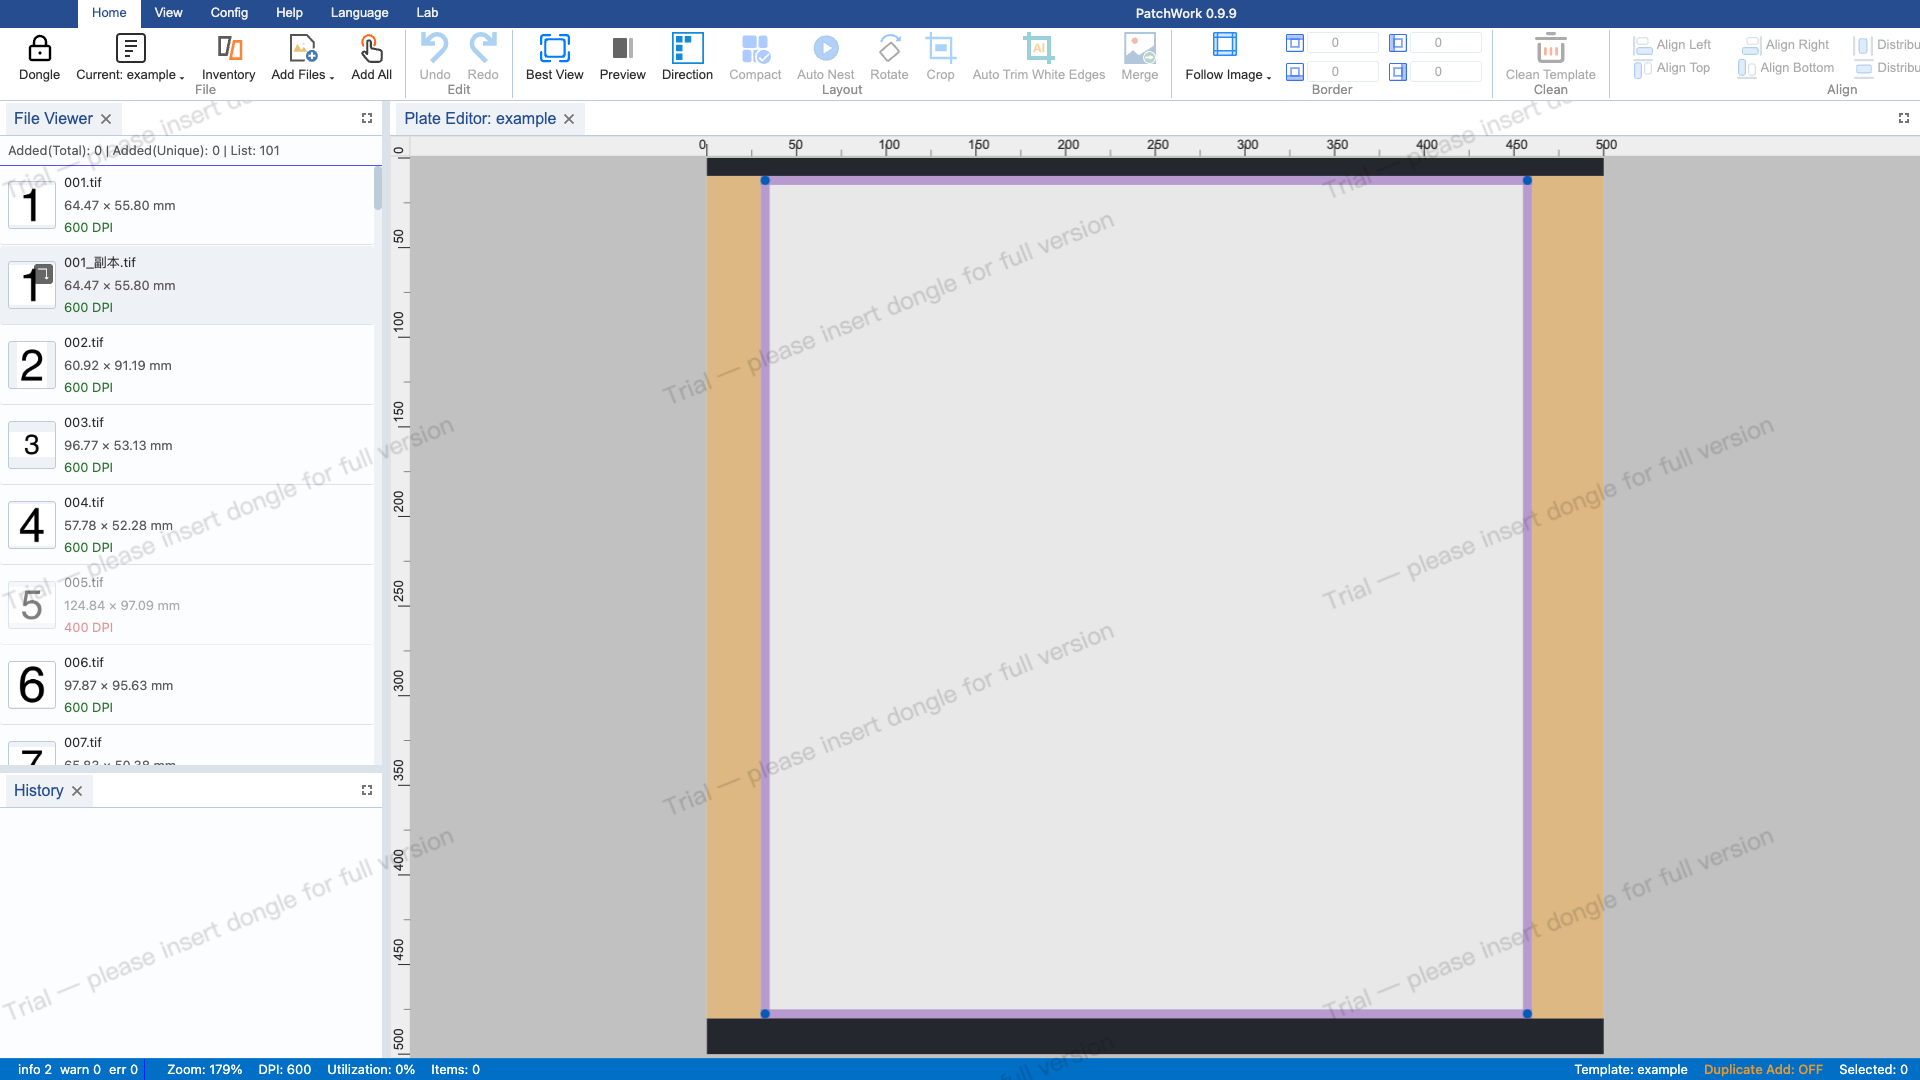
2 View Plate Canvas
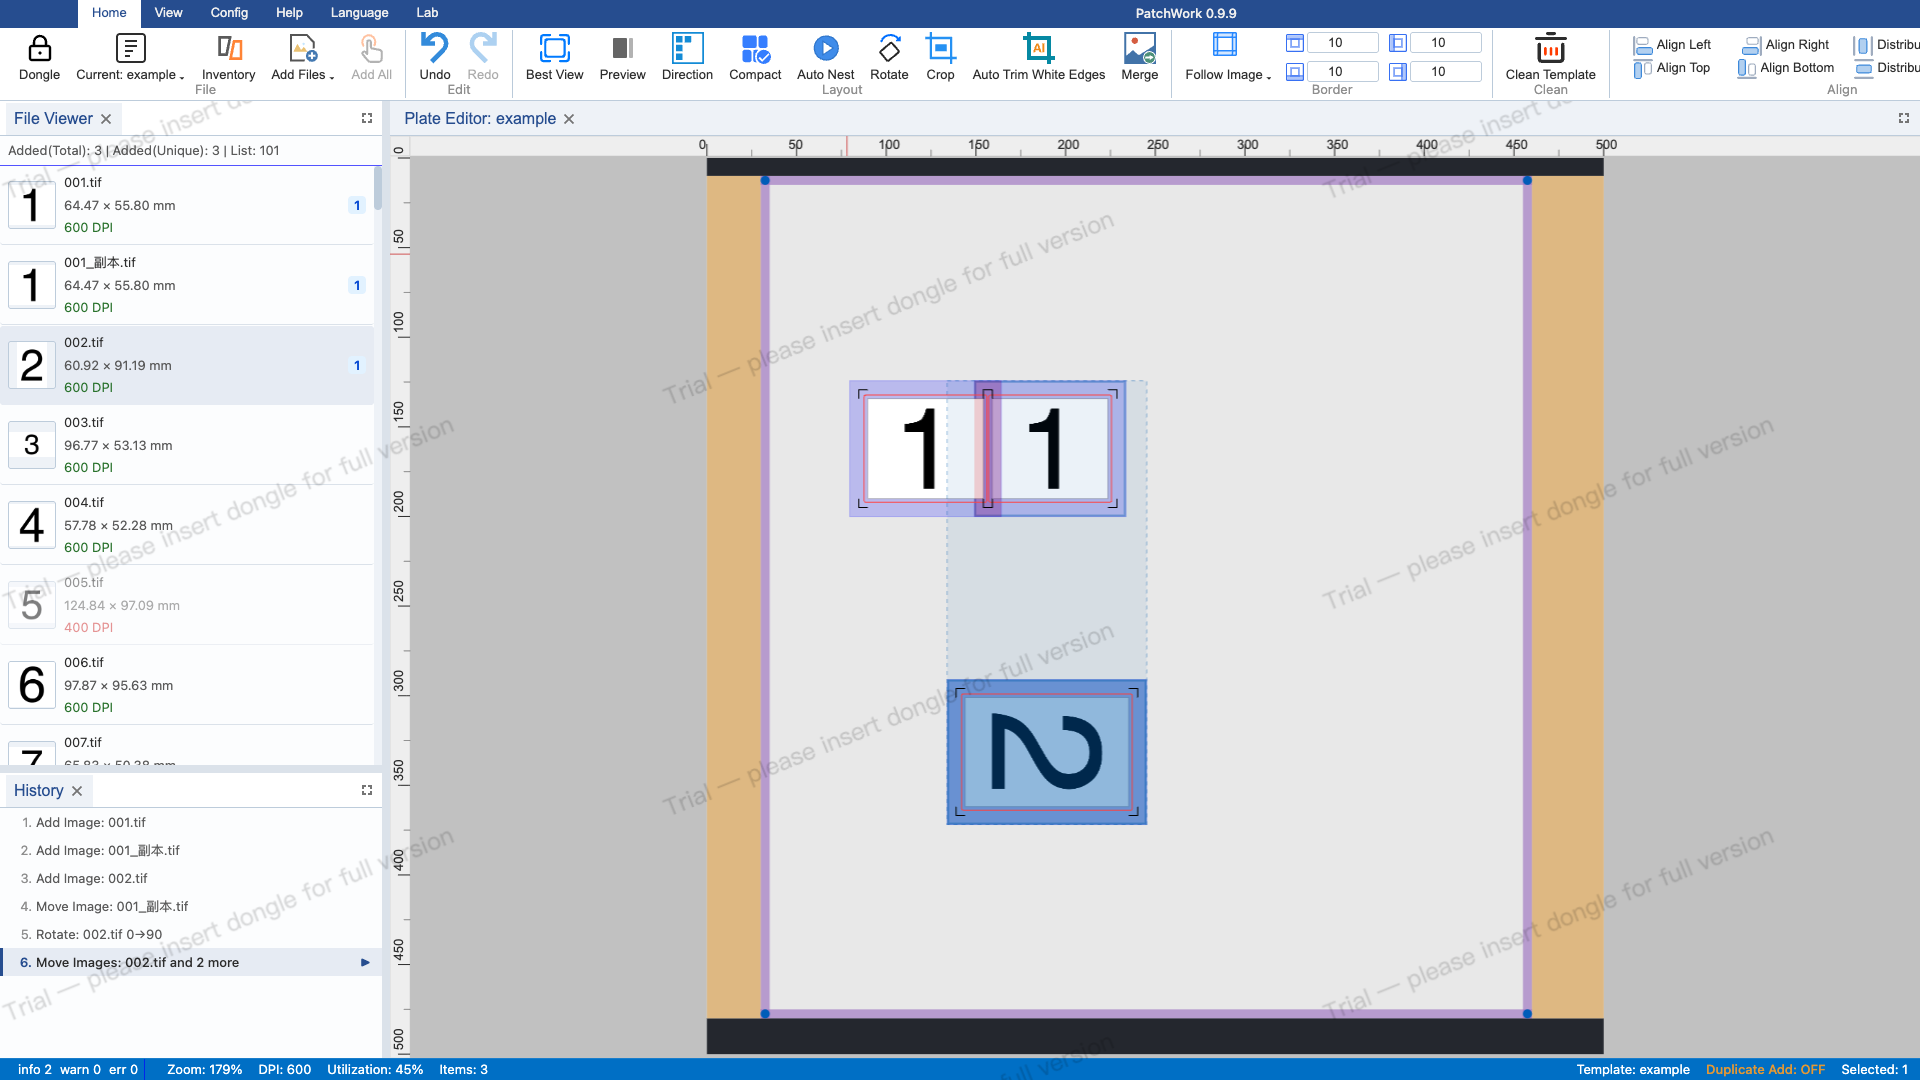
Switch to the "Plate" panel. The canvas consists of a plate border, image elements, and a bottom status bar. The plate border marks the available layout area. The status bar shows plate dimensions, DPI, zoom level, and selected image count.
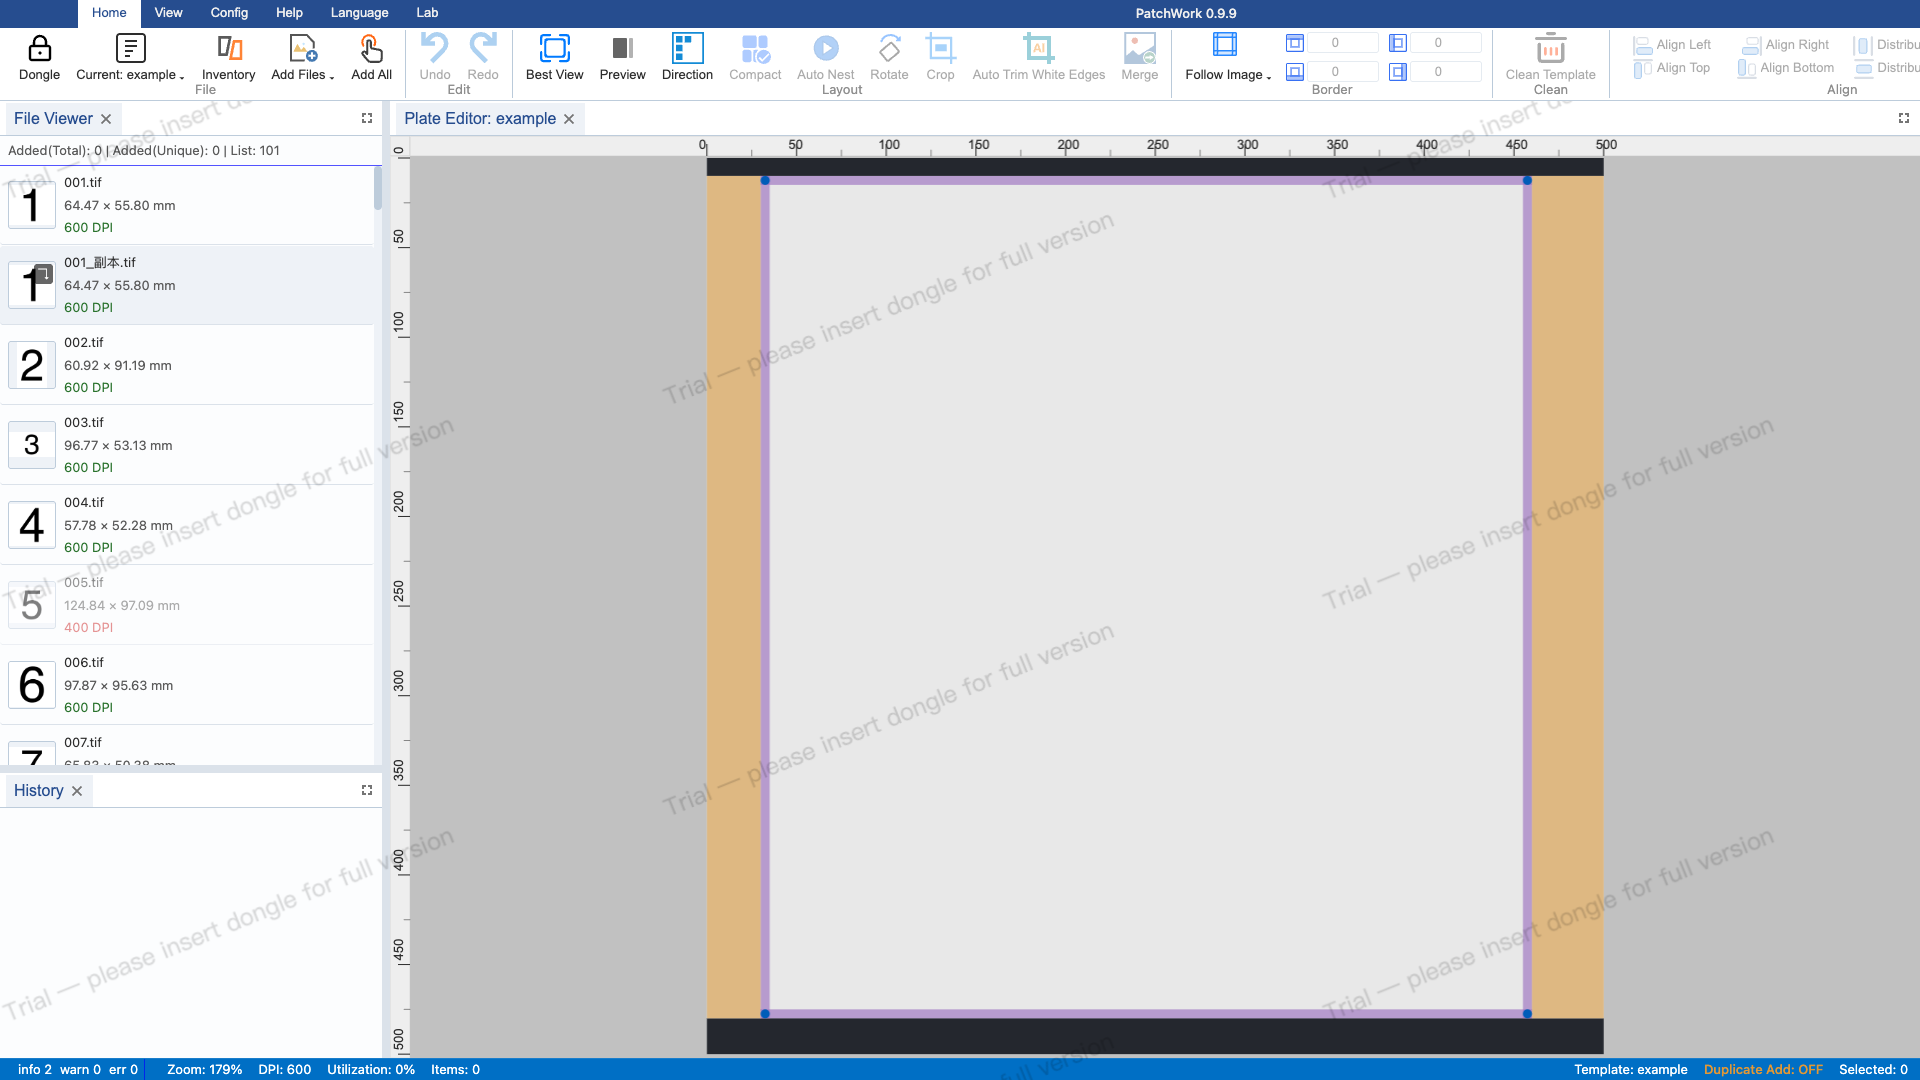
3 Add Images to Plate
Switch to the "Image List" panel and double-click images with matching DPI (green indicators) to add them to the plate. Only images with DPI matching the plate settings can be added. Here we add 2-3 matching images.
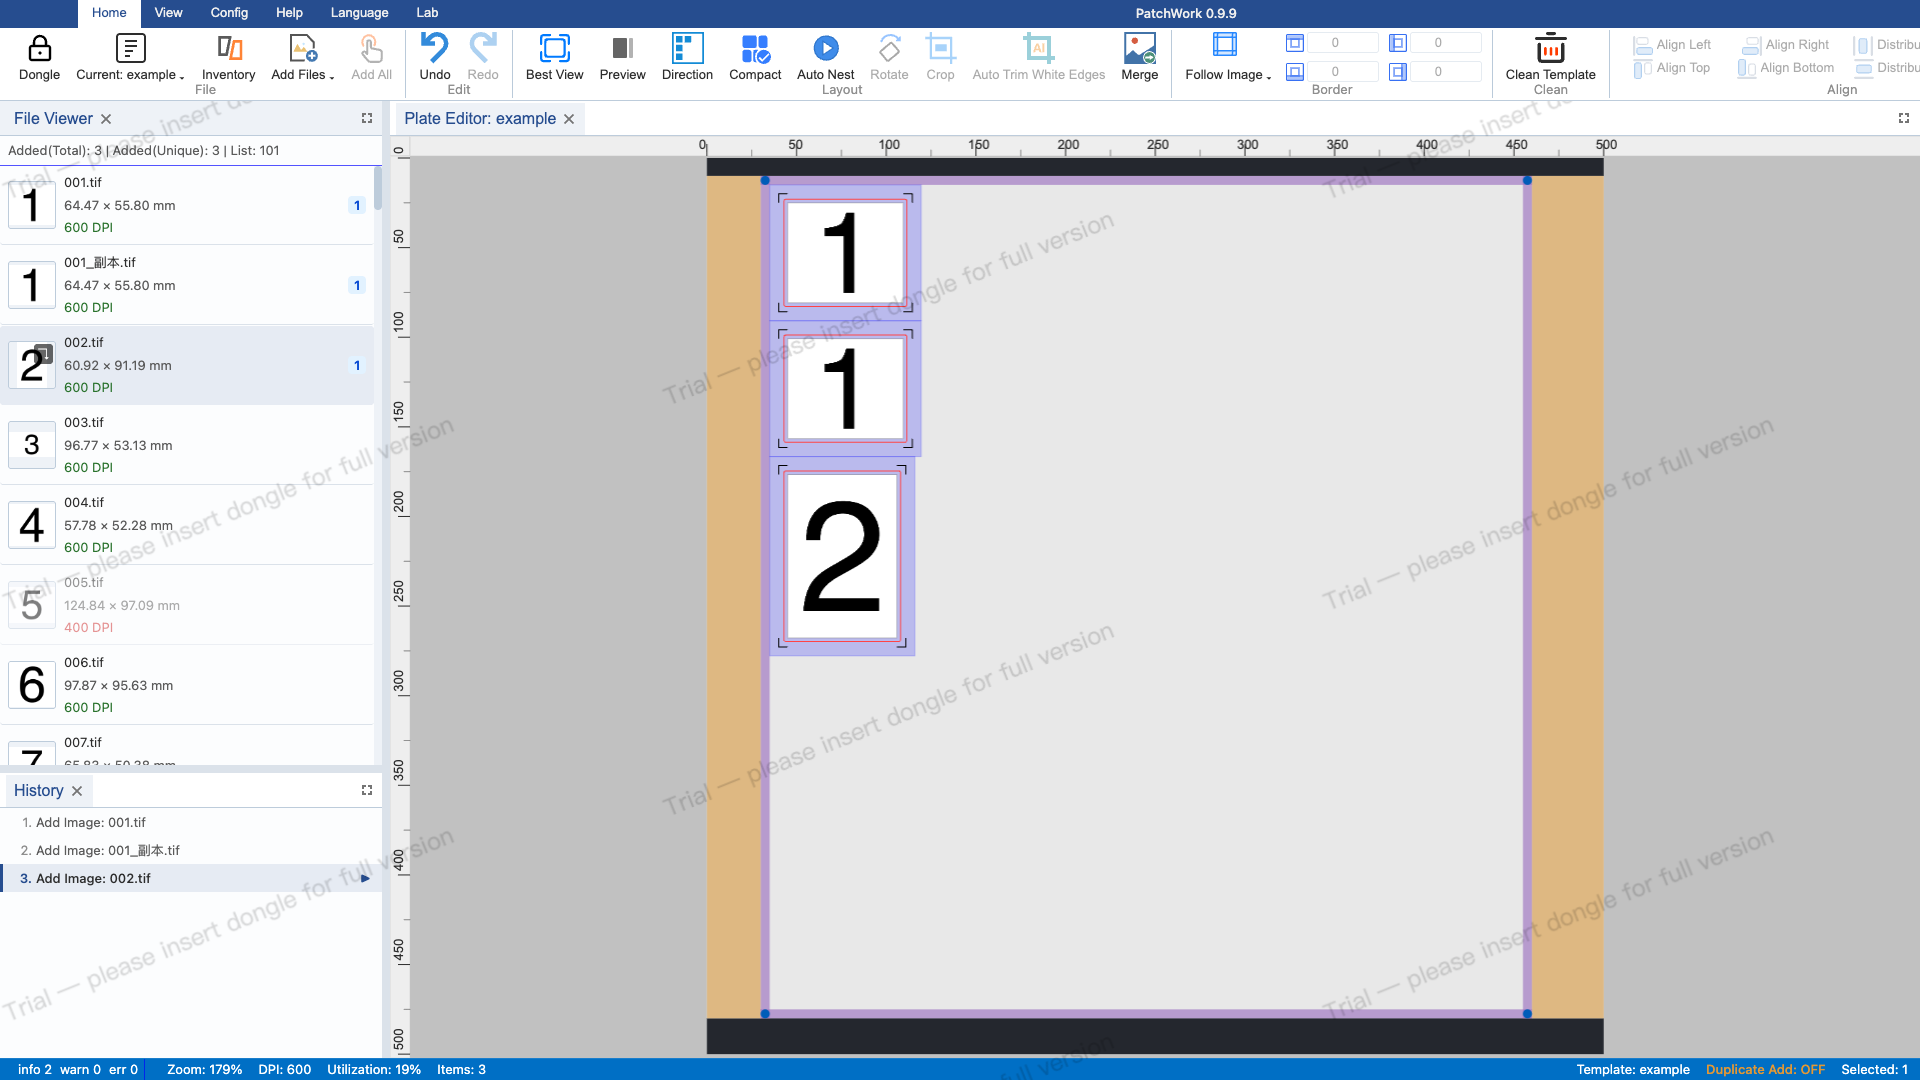
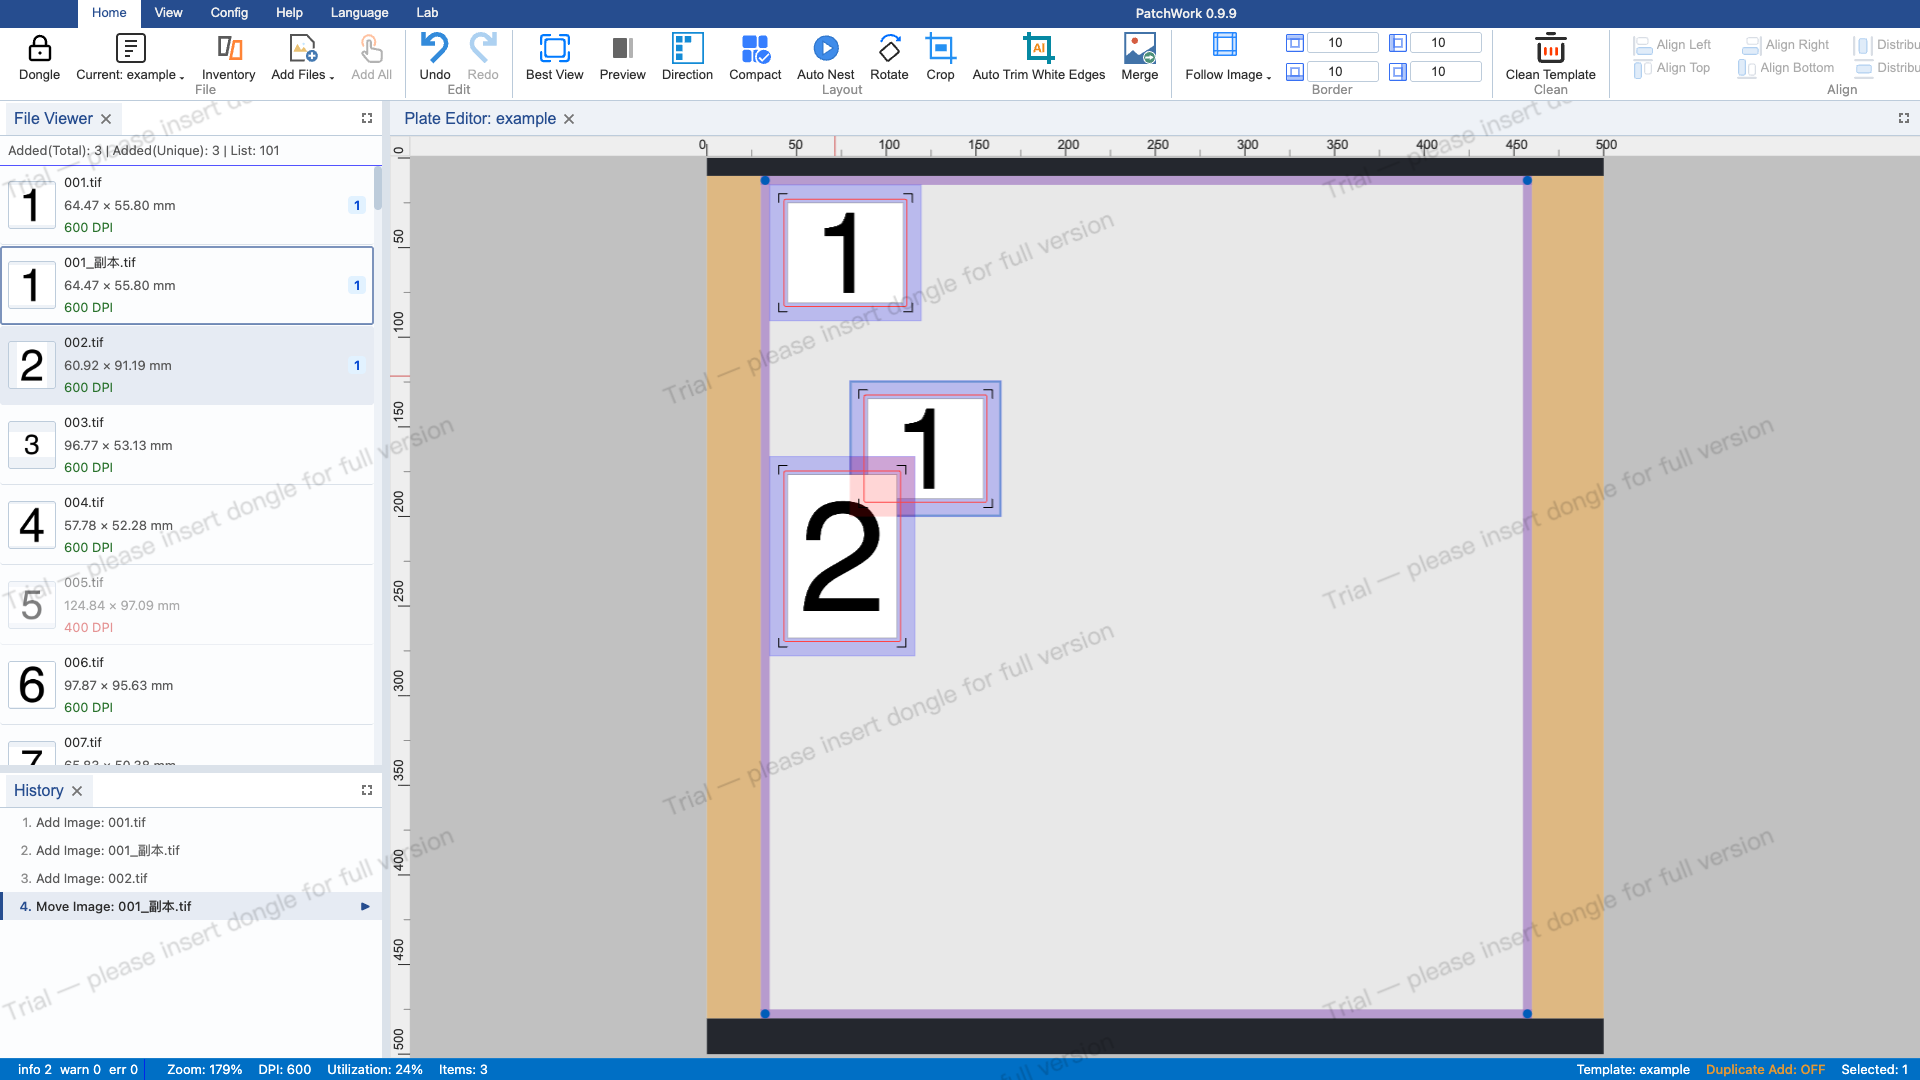
4 Drag to Move Image
Select an image on the canvas and drag it to move. The Konva canvas handles drag interaction via mouse events. The image follows the mouse position in real time during the drag.
5 Rotate Image
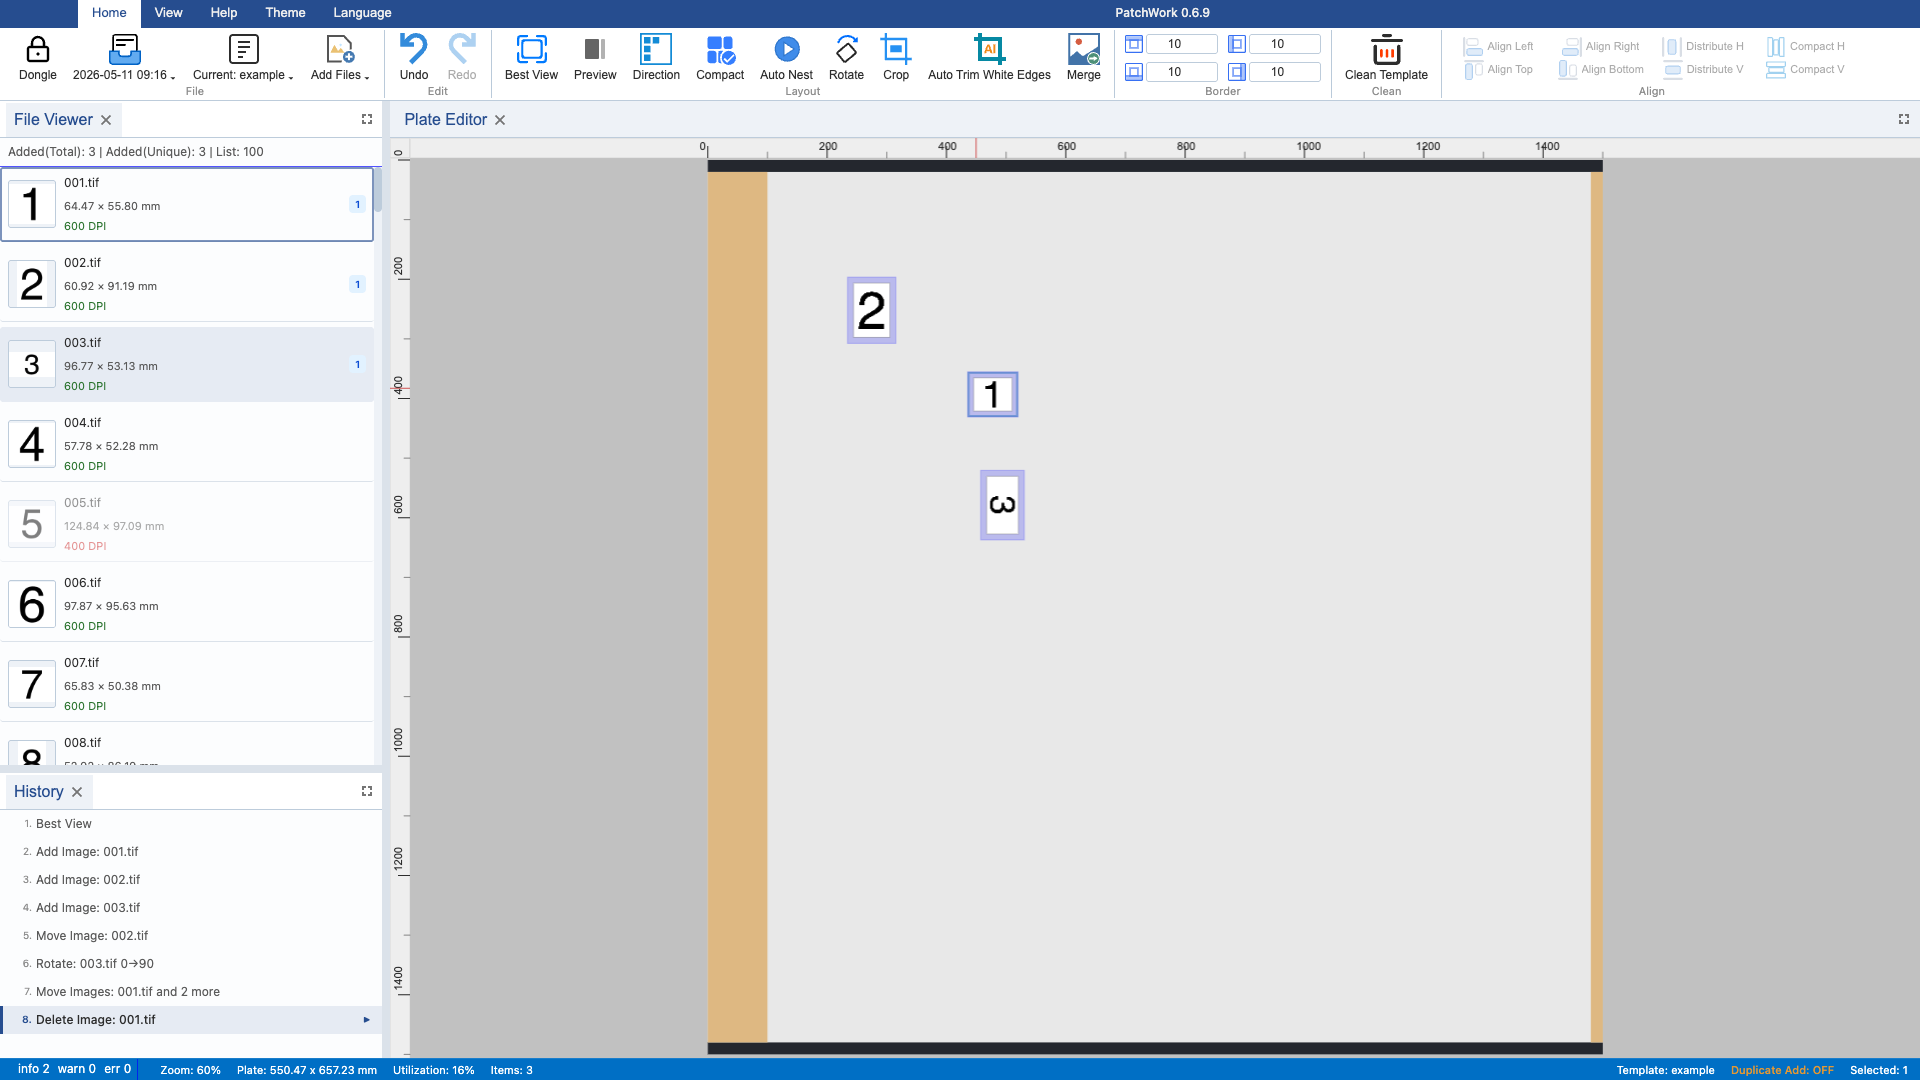
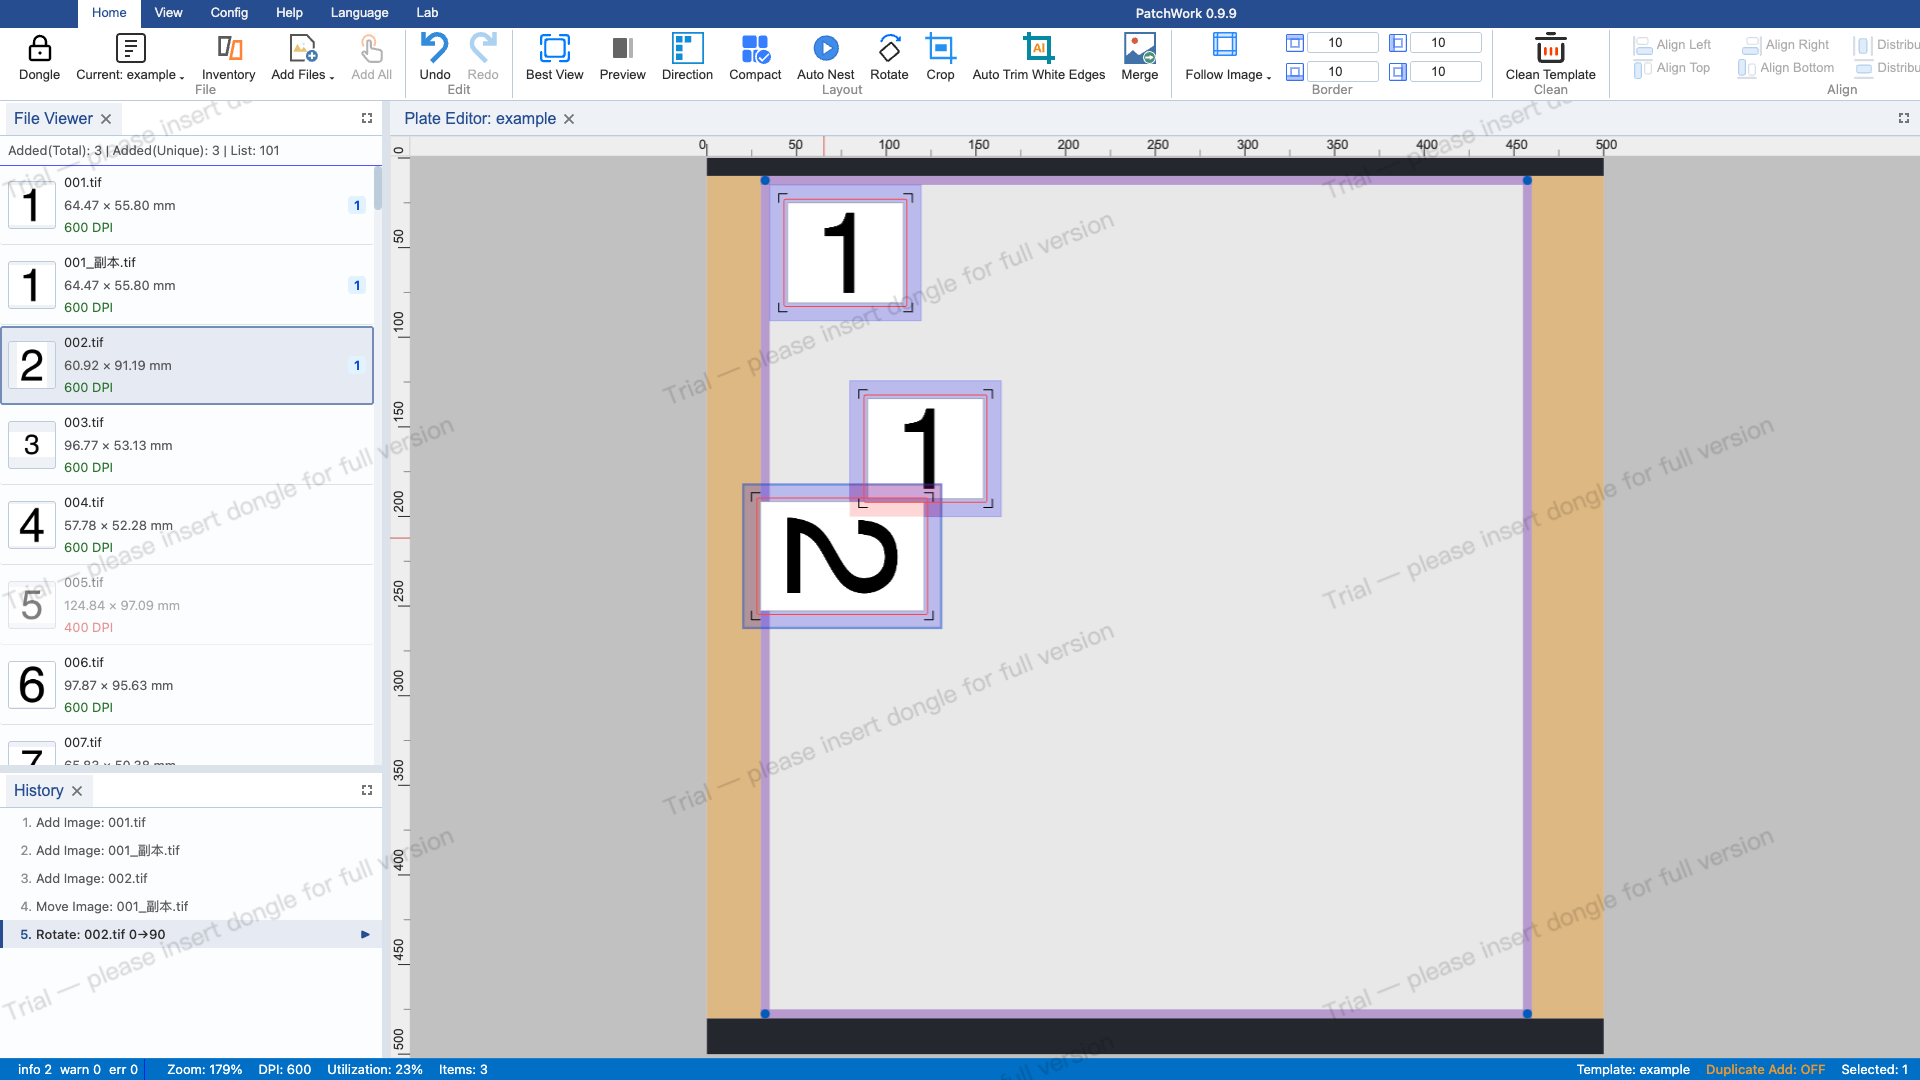
Select an image on the canvas and press Space to rotate it 90 degrees clockwise. Each press rotates 90 degrees, cycling through 0, 90, 180, and 270 degrees. Rotation supports undo and redo.
6 Rubber Band Selection
Click and drag on an empty area of the canvas to draw a blue dashed selection rectangle (rubber band). When you release the mouse, all images within the rectangle are selected. This is a quick way to batch-select images.
7 Click Empty Area to Deselect
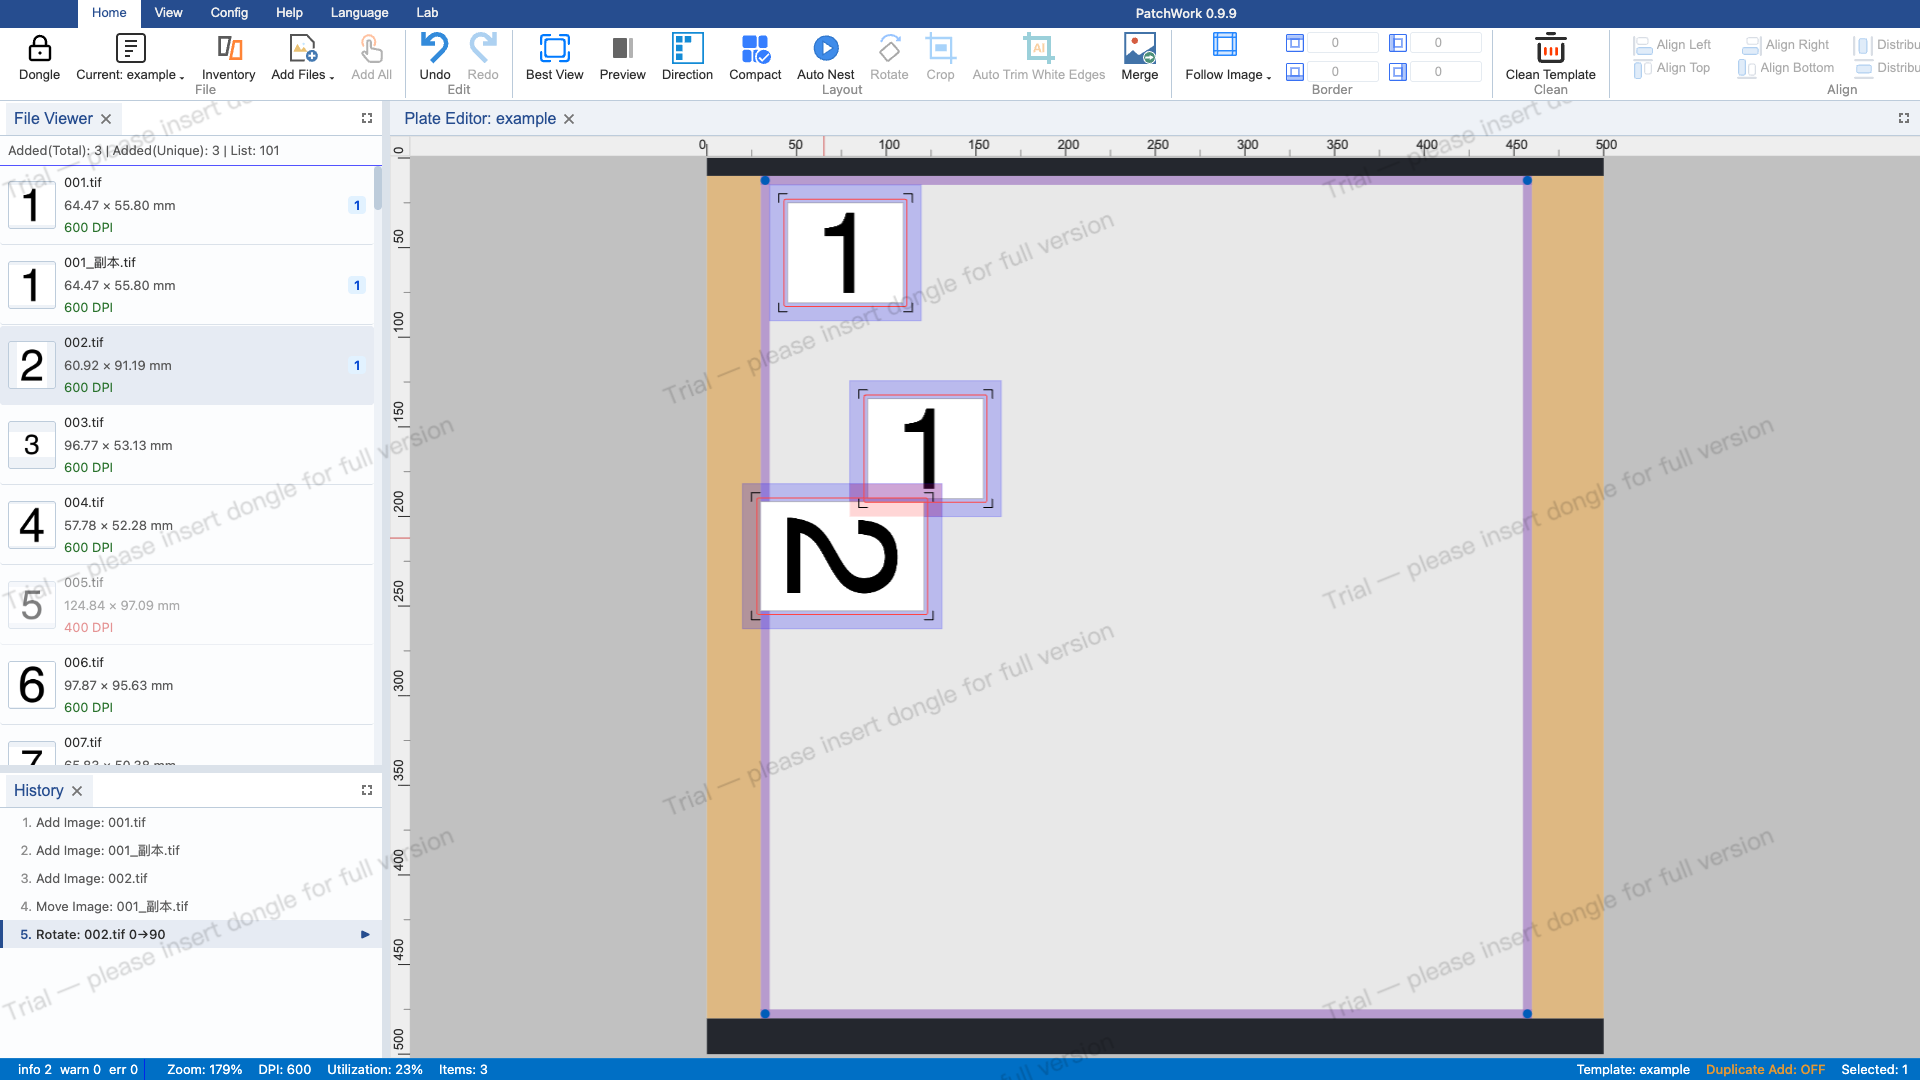
Click on an empty area of the canvas to deselect all images. This is the most common way to clear the selection. You can also press Escape.
8 Ctrl+Click Multi-Select
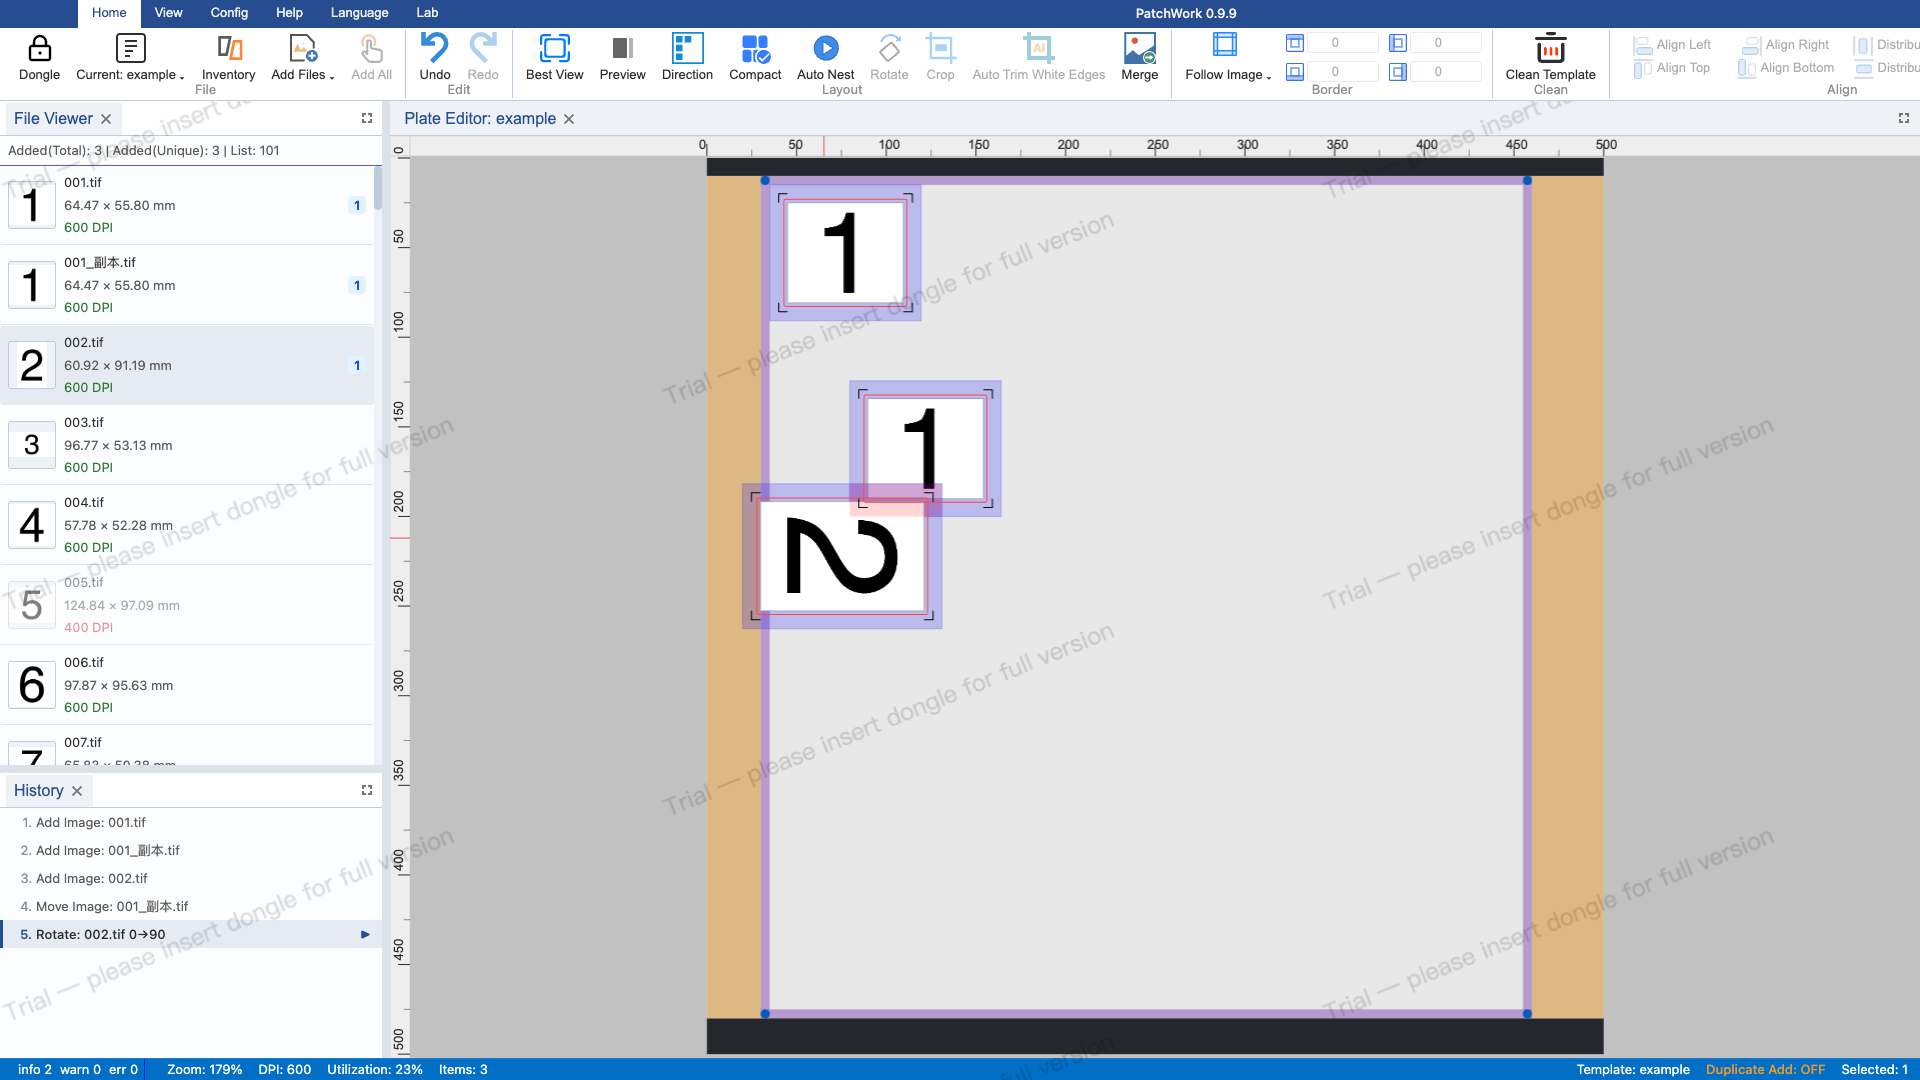
Hold Ctrl (Cmd on macOS) and click images on the canvas to add or remove them from the selection. This method allows precise control over which images are selected, useful for batch operations on non-contiguous images.

9 Batch Move
After selecting multiple images, drag any one of them to move all selected images together. The relative positions between images are preserved during the move. This is useful for adjusting the layout position of a group of images.
10 Delete and Undo
Deselect all, click image 2 to select it, and press Delete to remove it. Wait a moment, then press Ctrl+Z to undo the deletion and restore the image. All operations executed through the command system support undo.

11 Move and Undo
Drag image 2 to the left and release the mouse. Then press Ctrl+Z to undo the move and restore image 2 to its original position. All move operations are executed through the command system and support undo and redo.