Alignment & Auto Layout
1 Load Example Template
Click the template dropdown and select the example preset to load plate configuration and images.

2 Add Multiple Images
Switch to the "Image List" panel and double-click all matching DPI images to add them to the canvas. Then drag the images on the canvas to scatter them around the plate for the alignment and distribution demo.
3 Select All Images
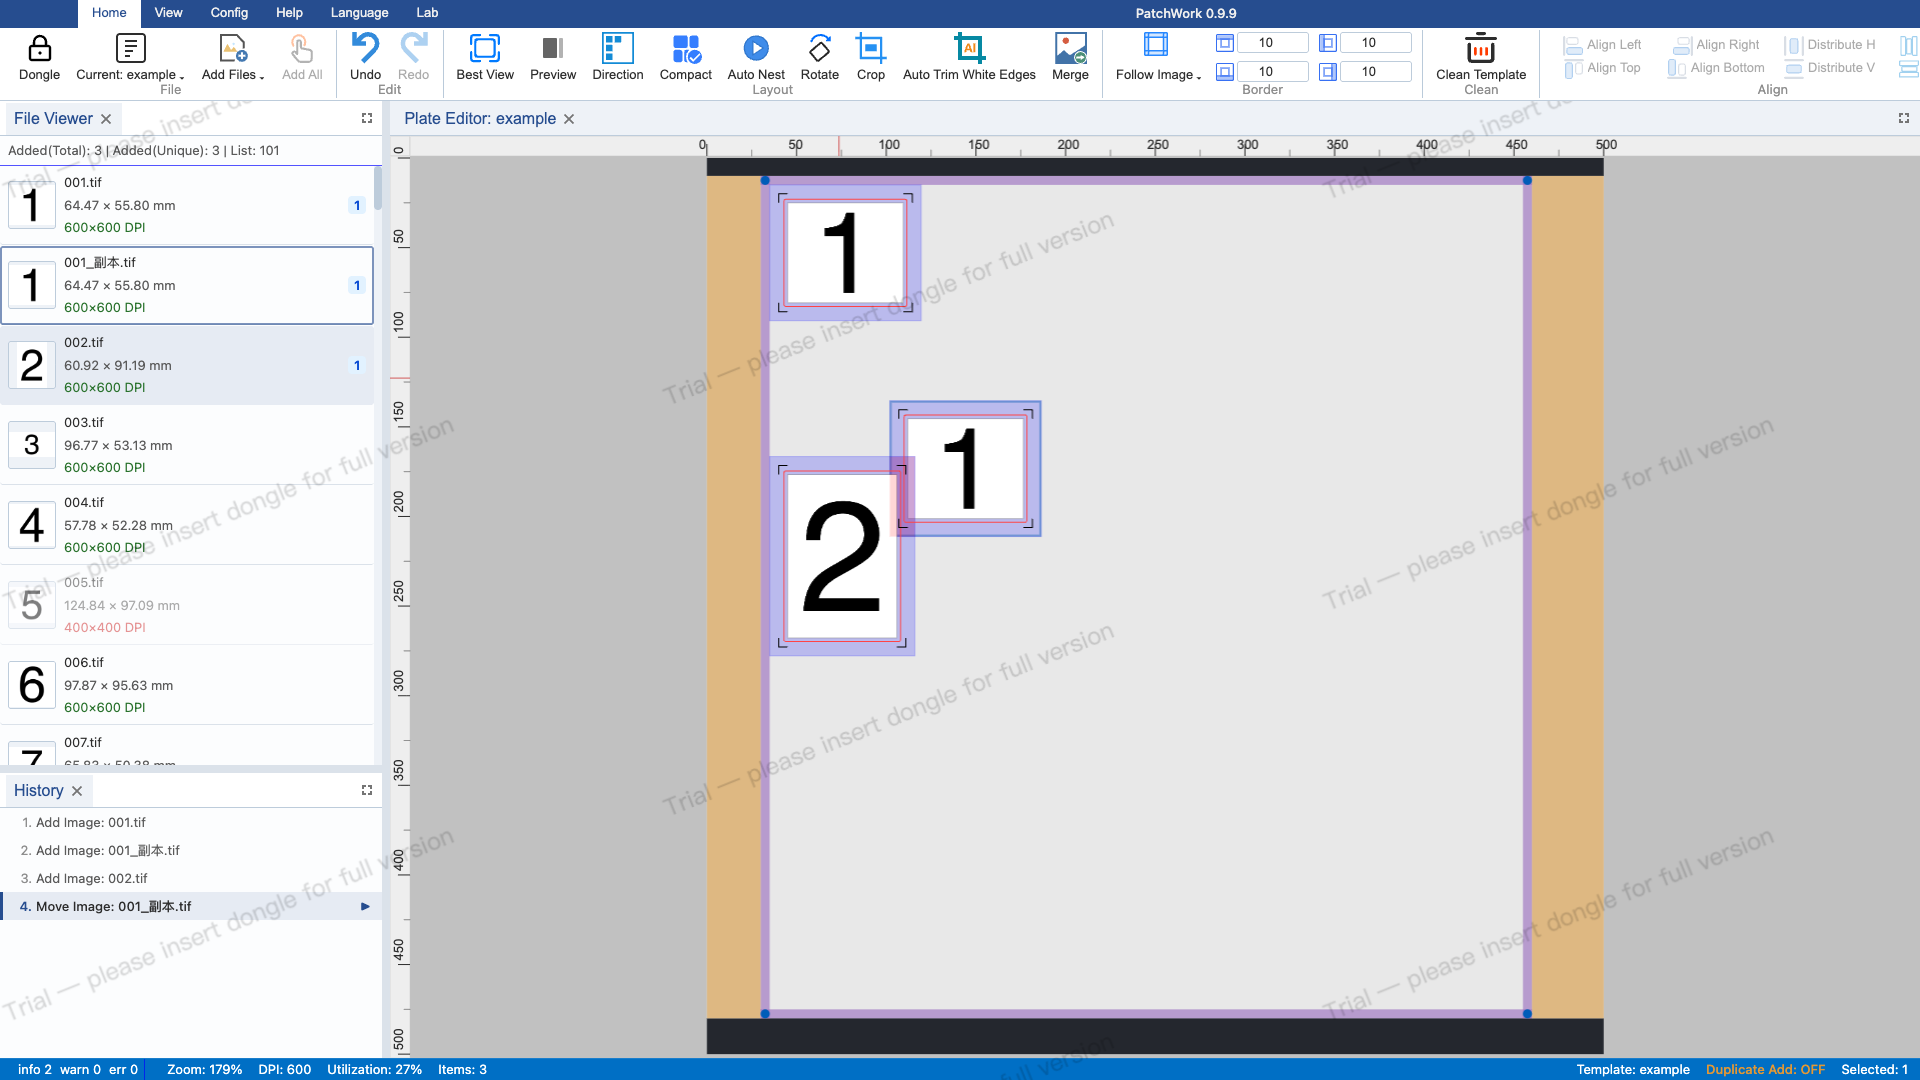
Press Ctrl+A to select all images on the canvas at once. Selected images show blue highlight borders indicating they are in the selected state. You can then perform alignment, distribution, and other batch operations on all images.

4 Align Left
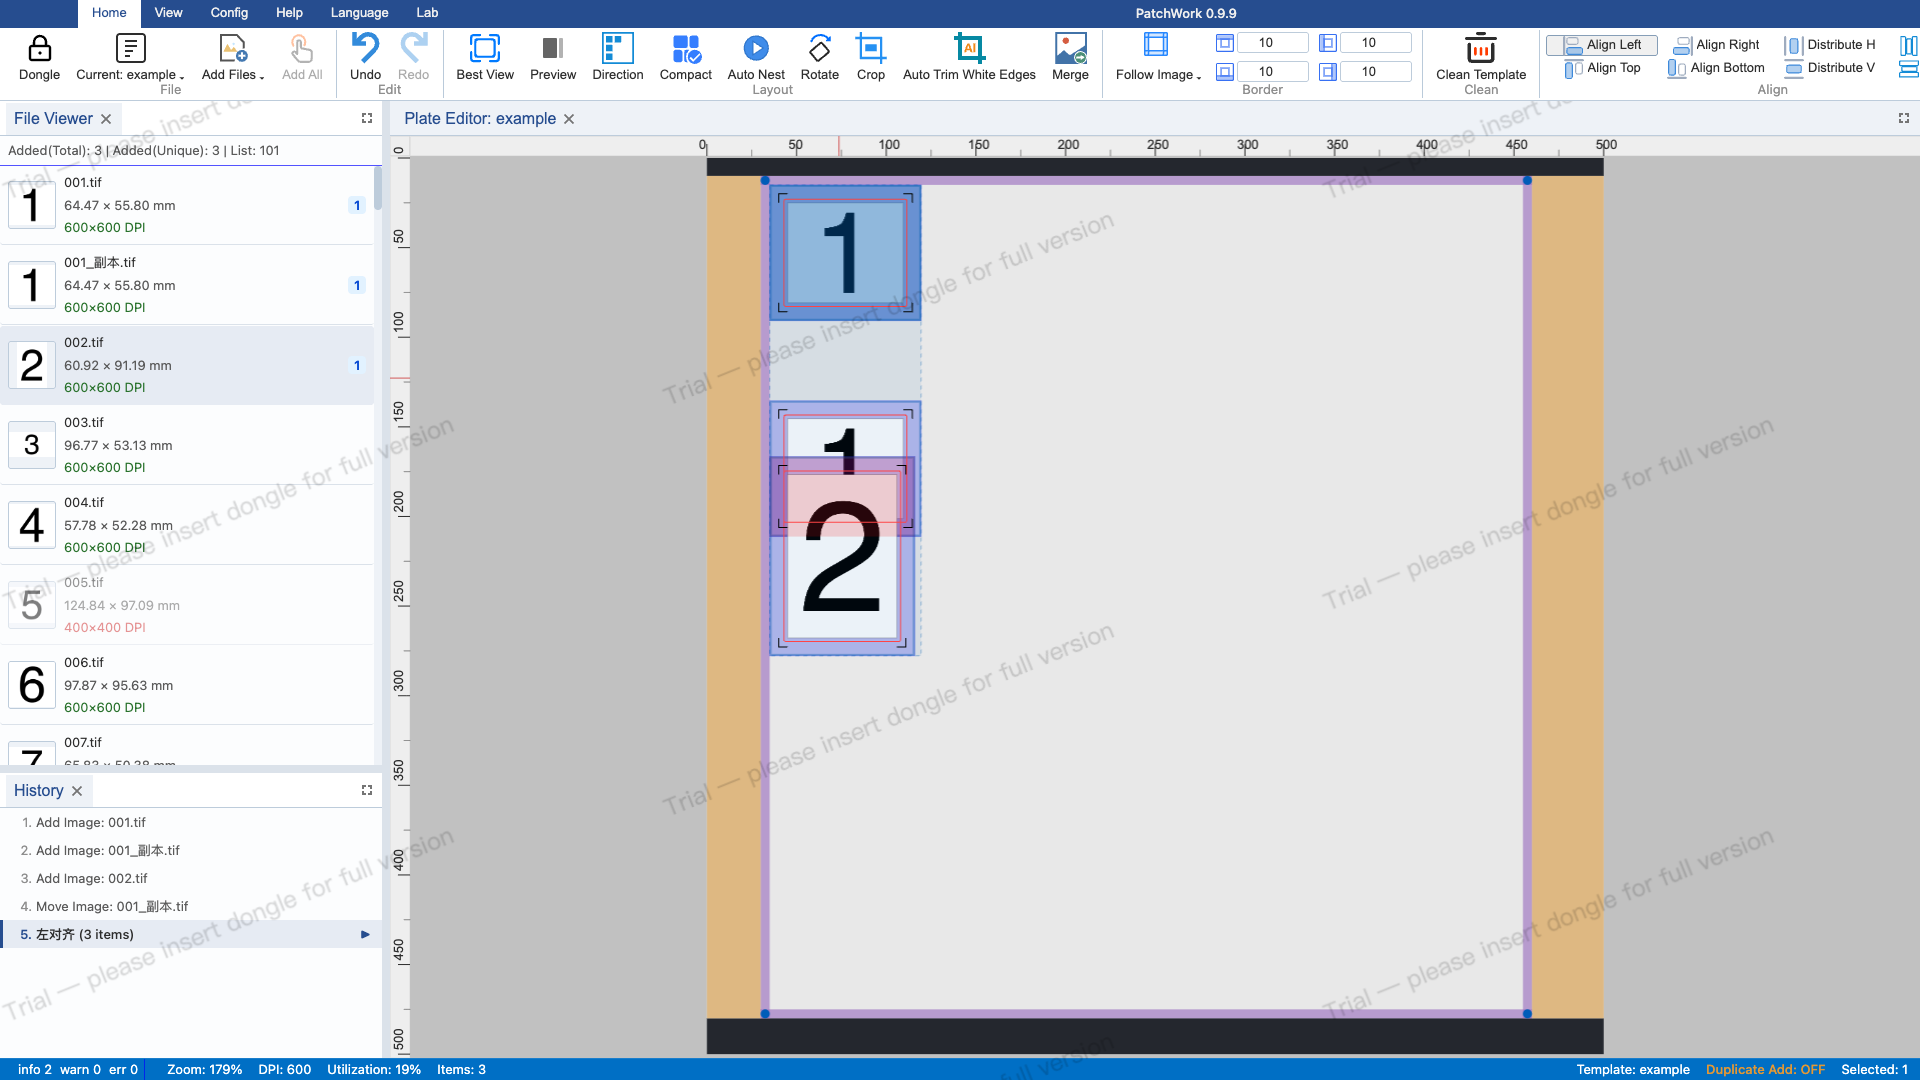
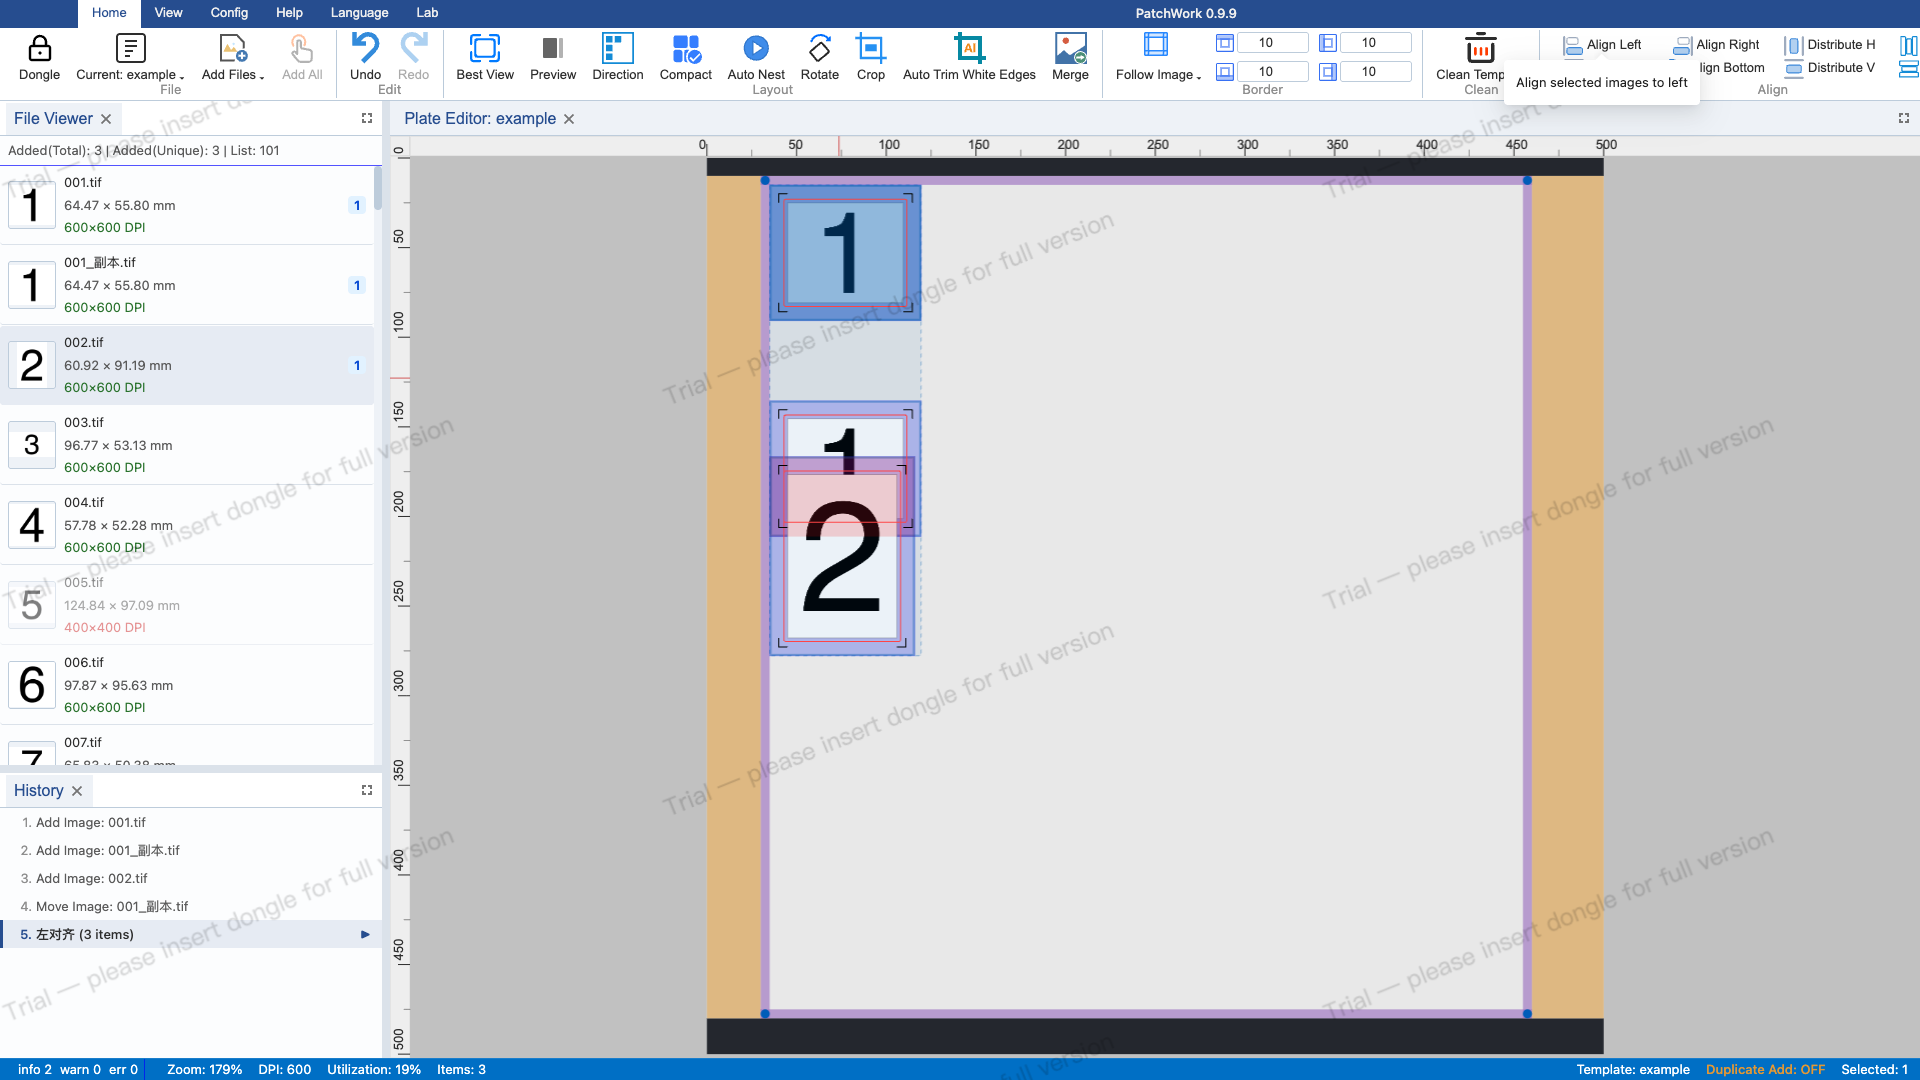
Click the "Align Left" button in the Ribbon "Align" group. All selected images align to the left edge of the leftmost image. Requires at least 2 images selected. Supports undo.
5 Align Top
Click the "Align Top" button. All selected images align to the top edge of the topmost image. Like Align Left, requires at least 2 images selected.
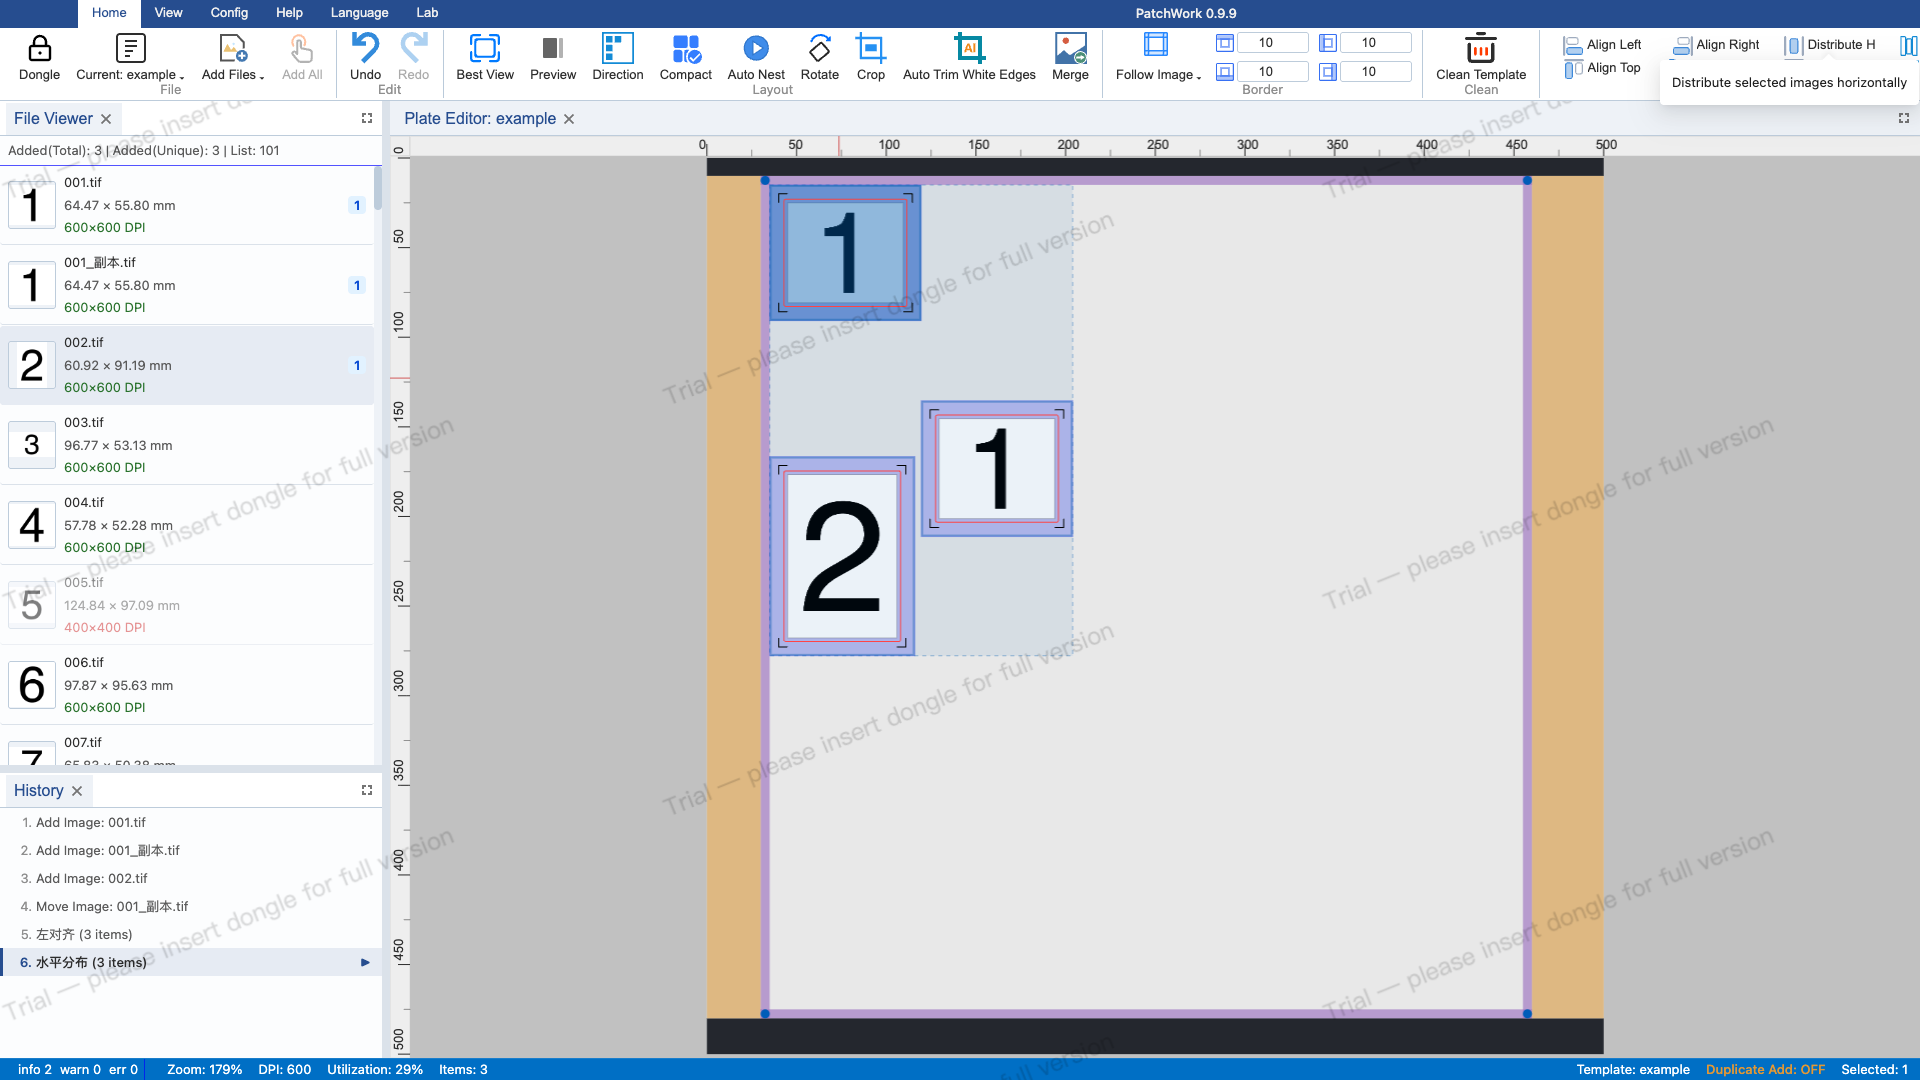
6 Distribute Horizontally
Click the "Distribute Horizontally" button. Selected images are evenly distributed horizontally between the leftmost and rightmost images. The horizontal gap between each pair of adjacent images is equal. Requires at least 3 images for a visible effect.
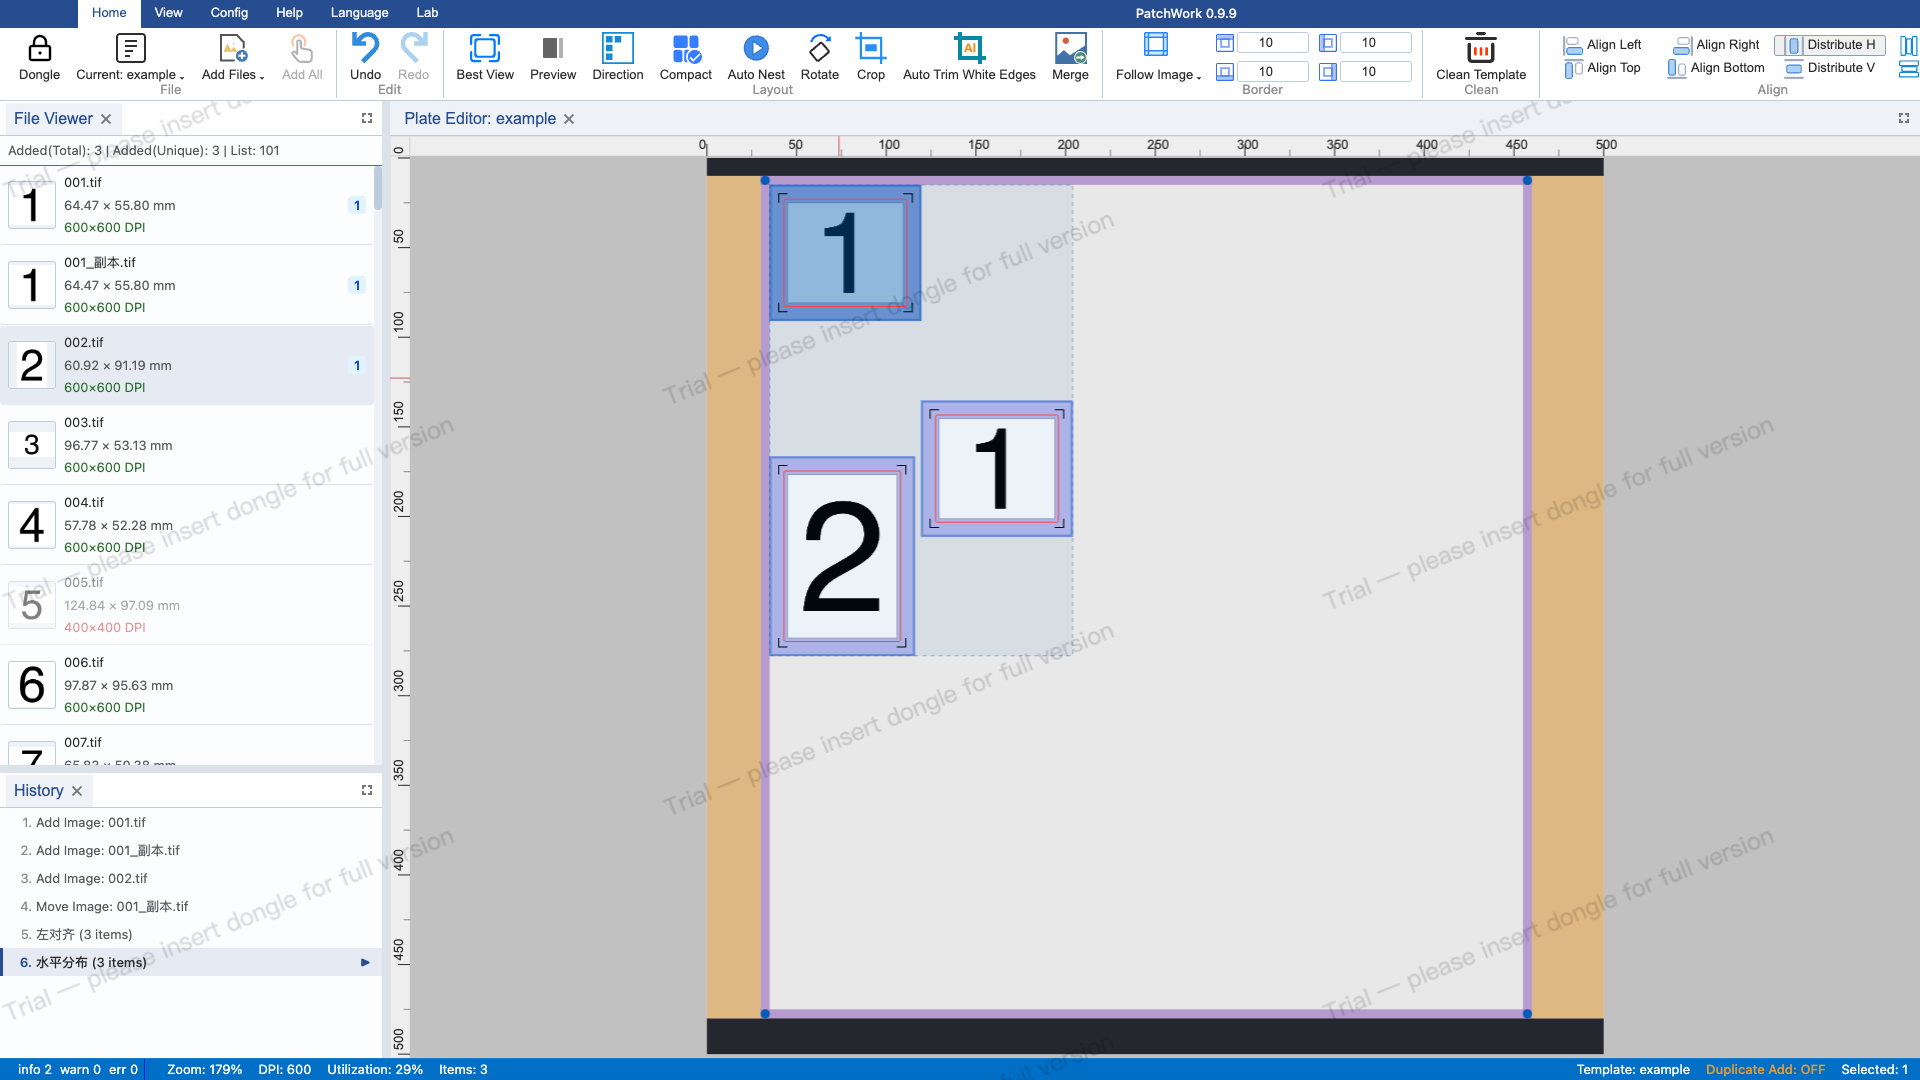
7 Distribute Vertically
Click the "Distribute Vertically" button. Selected images are evenly distributed vertically between the topmost and bottommost images. The vertical gap between each pair of adjacent images is equal. Combined with horizontal distribution, it achieves a grid layout.
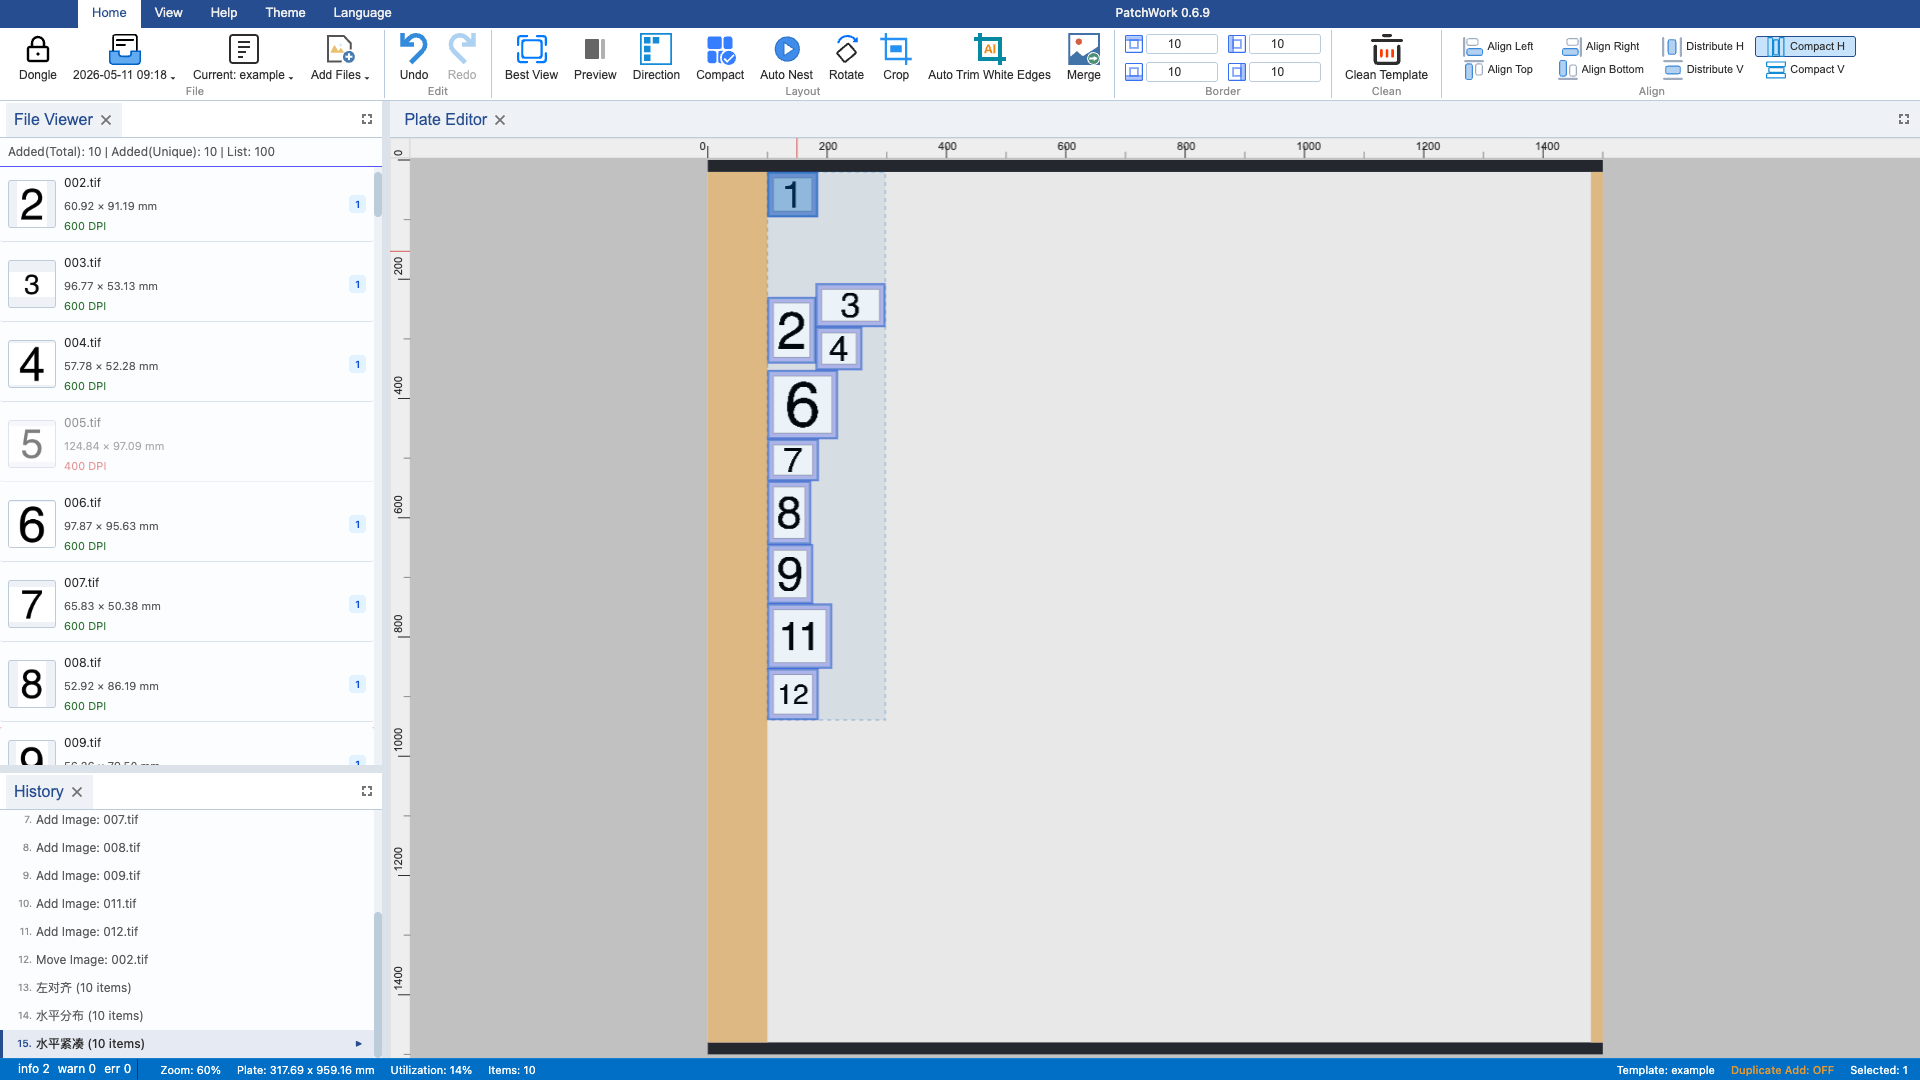
8 Compact Horizontal
Click the "Compact Horizontal" button. Selected images are tightly arranged horizontally, removing horizontal gaps between images. Only each image margin border spacing is preserved. This is very effective for saving plate space.
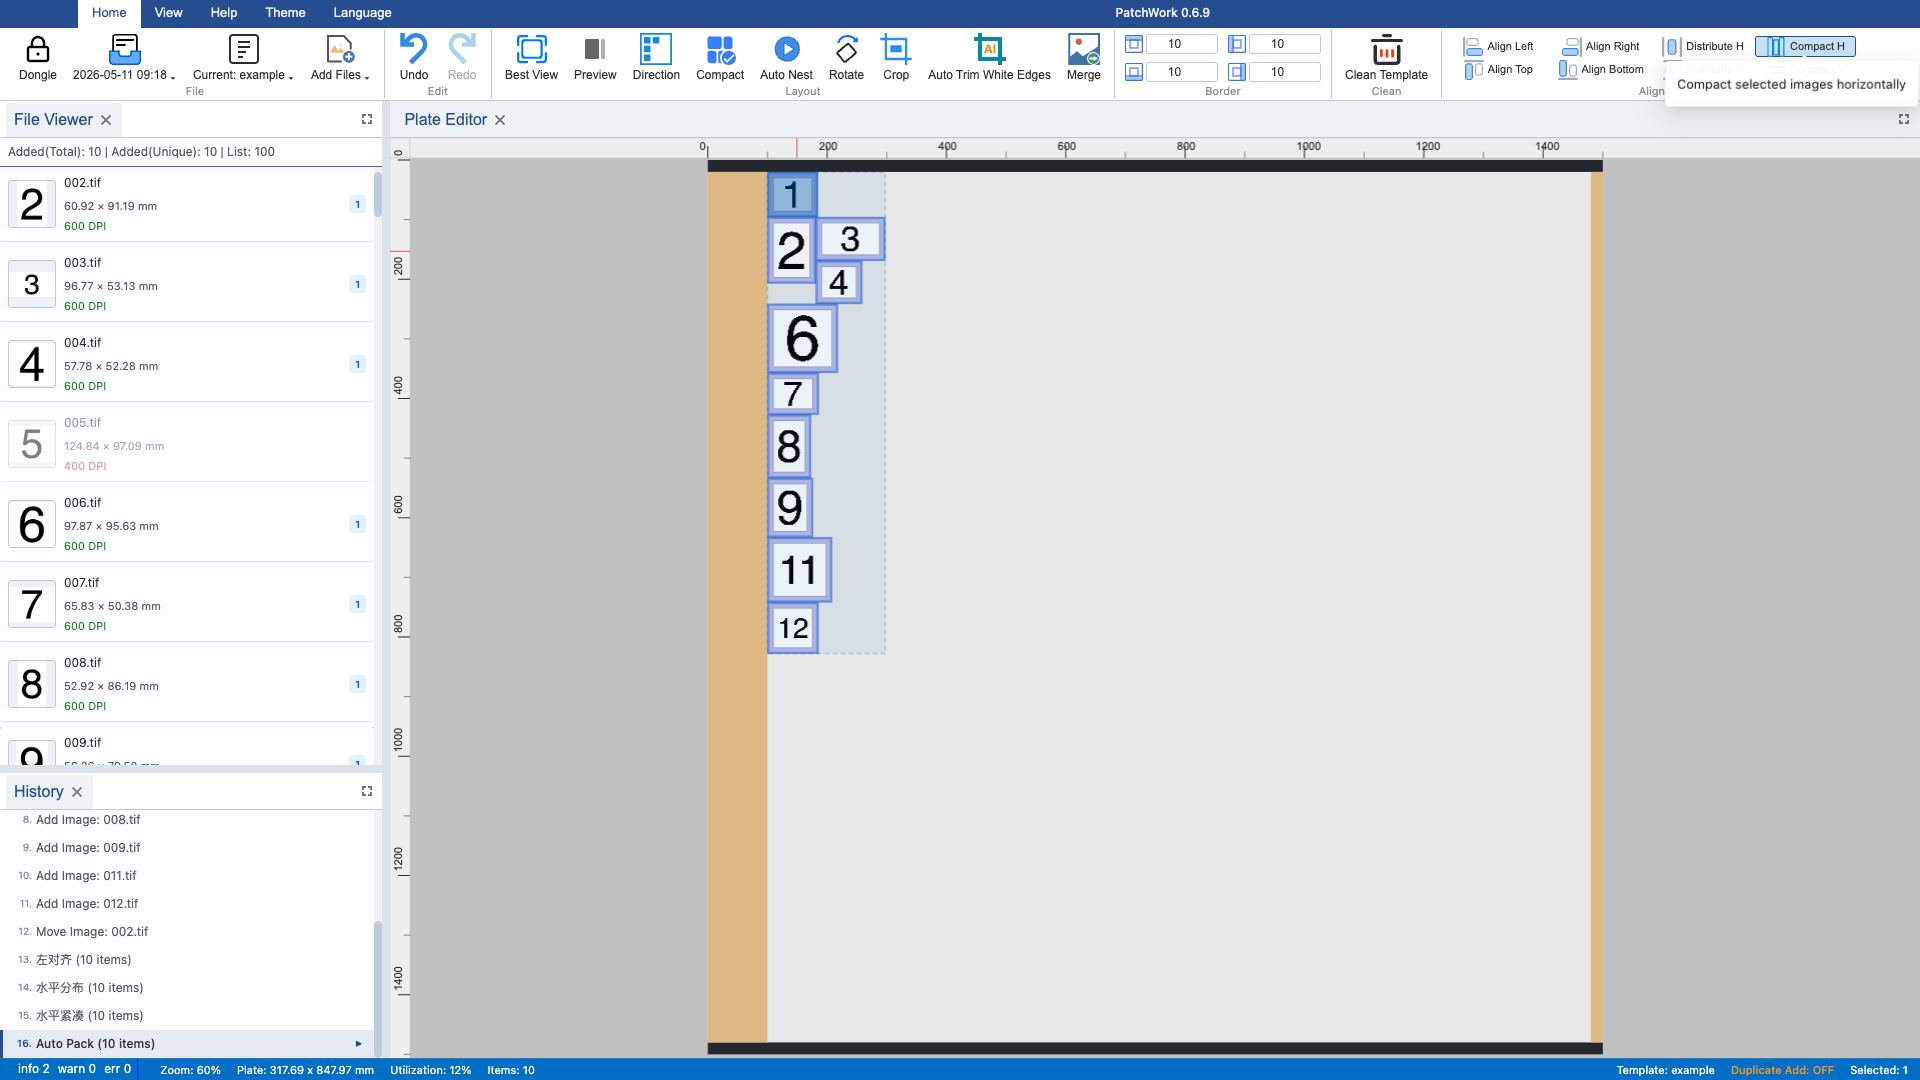
9 Auto Pack
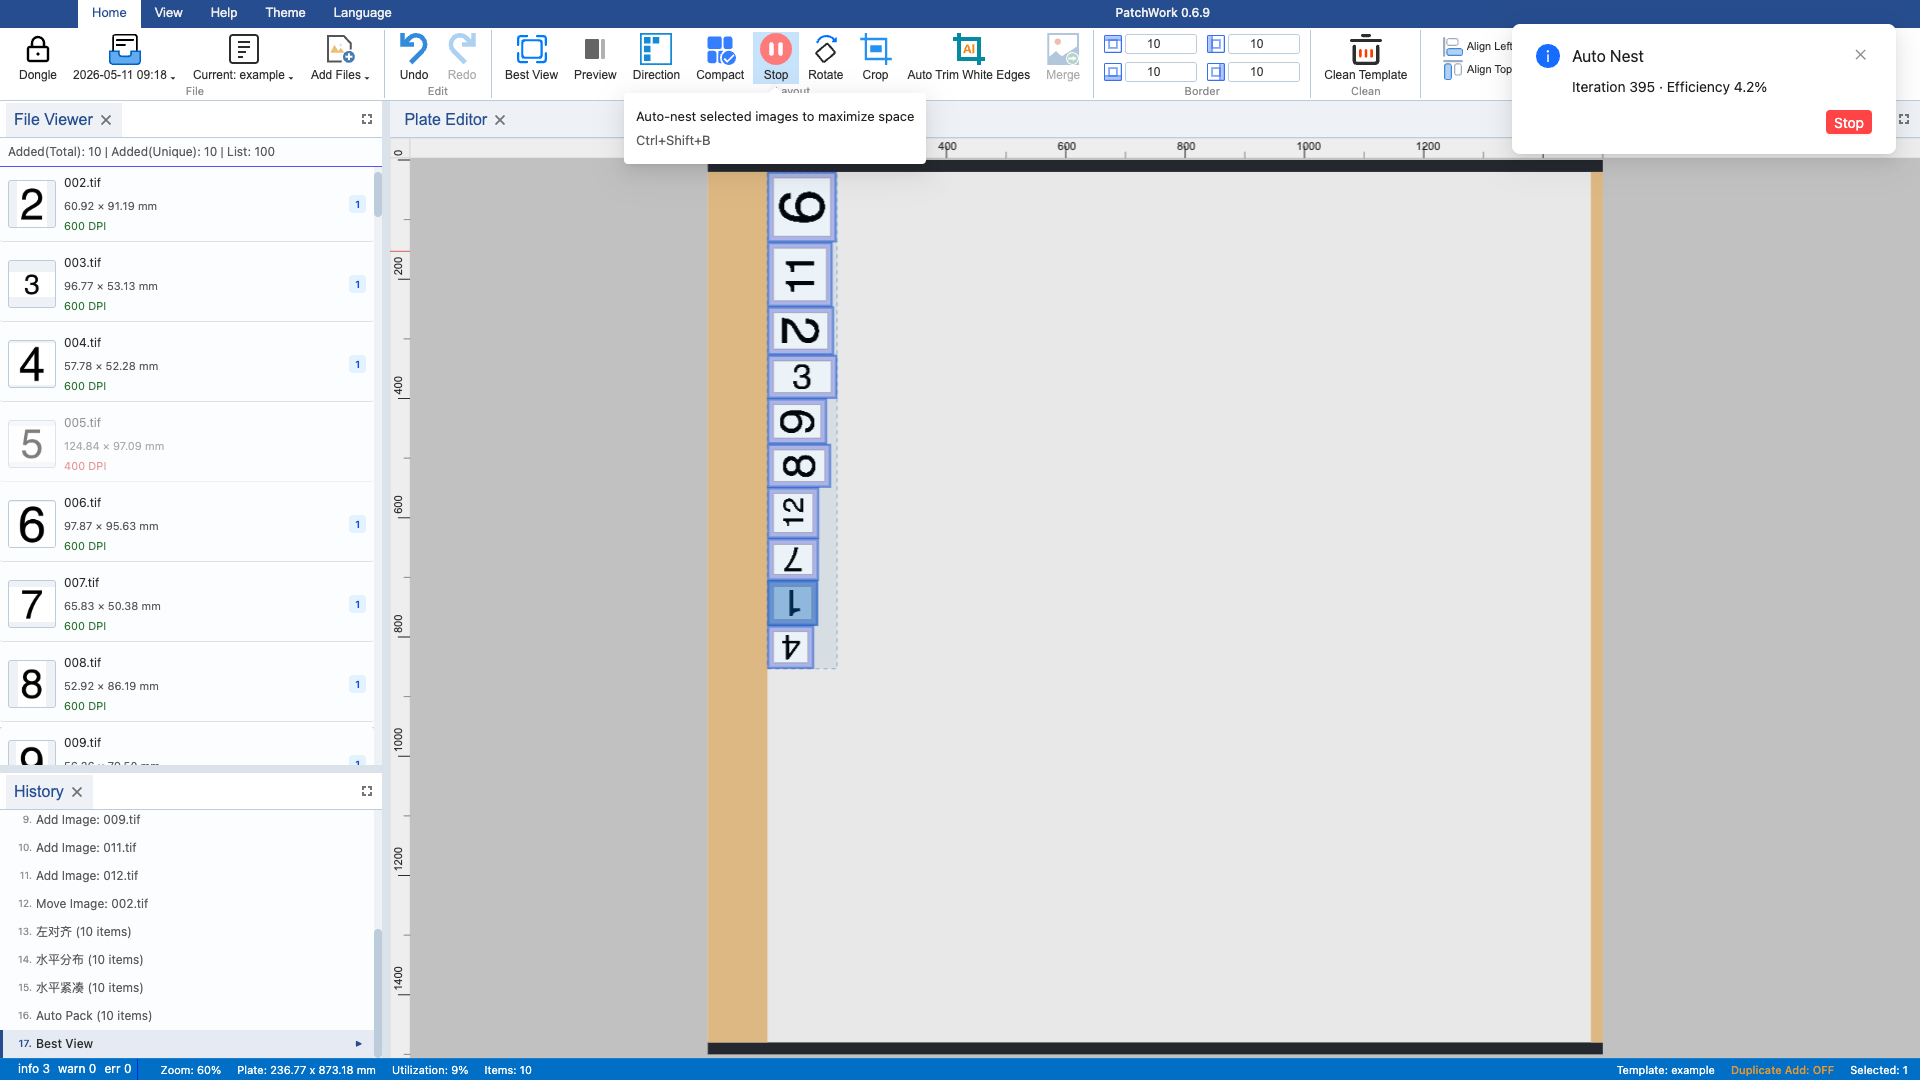
Press Ctrl+B or click the "Compact" button on the Ribbon. The system uses a Bin Pack algorithm to automatically arrange all images compactly within the plate. The algorithm minimizes wasted plate space, placing images tightly in the upper-left area.
10 Auto Nest
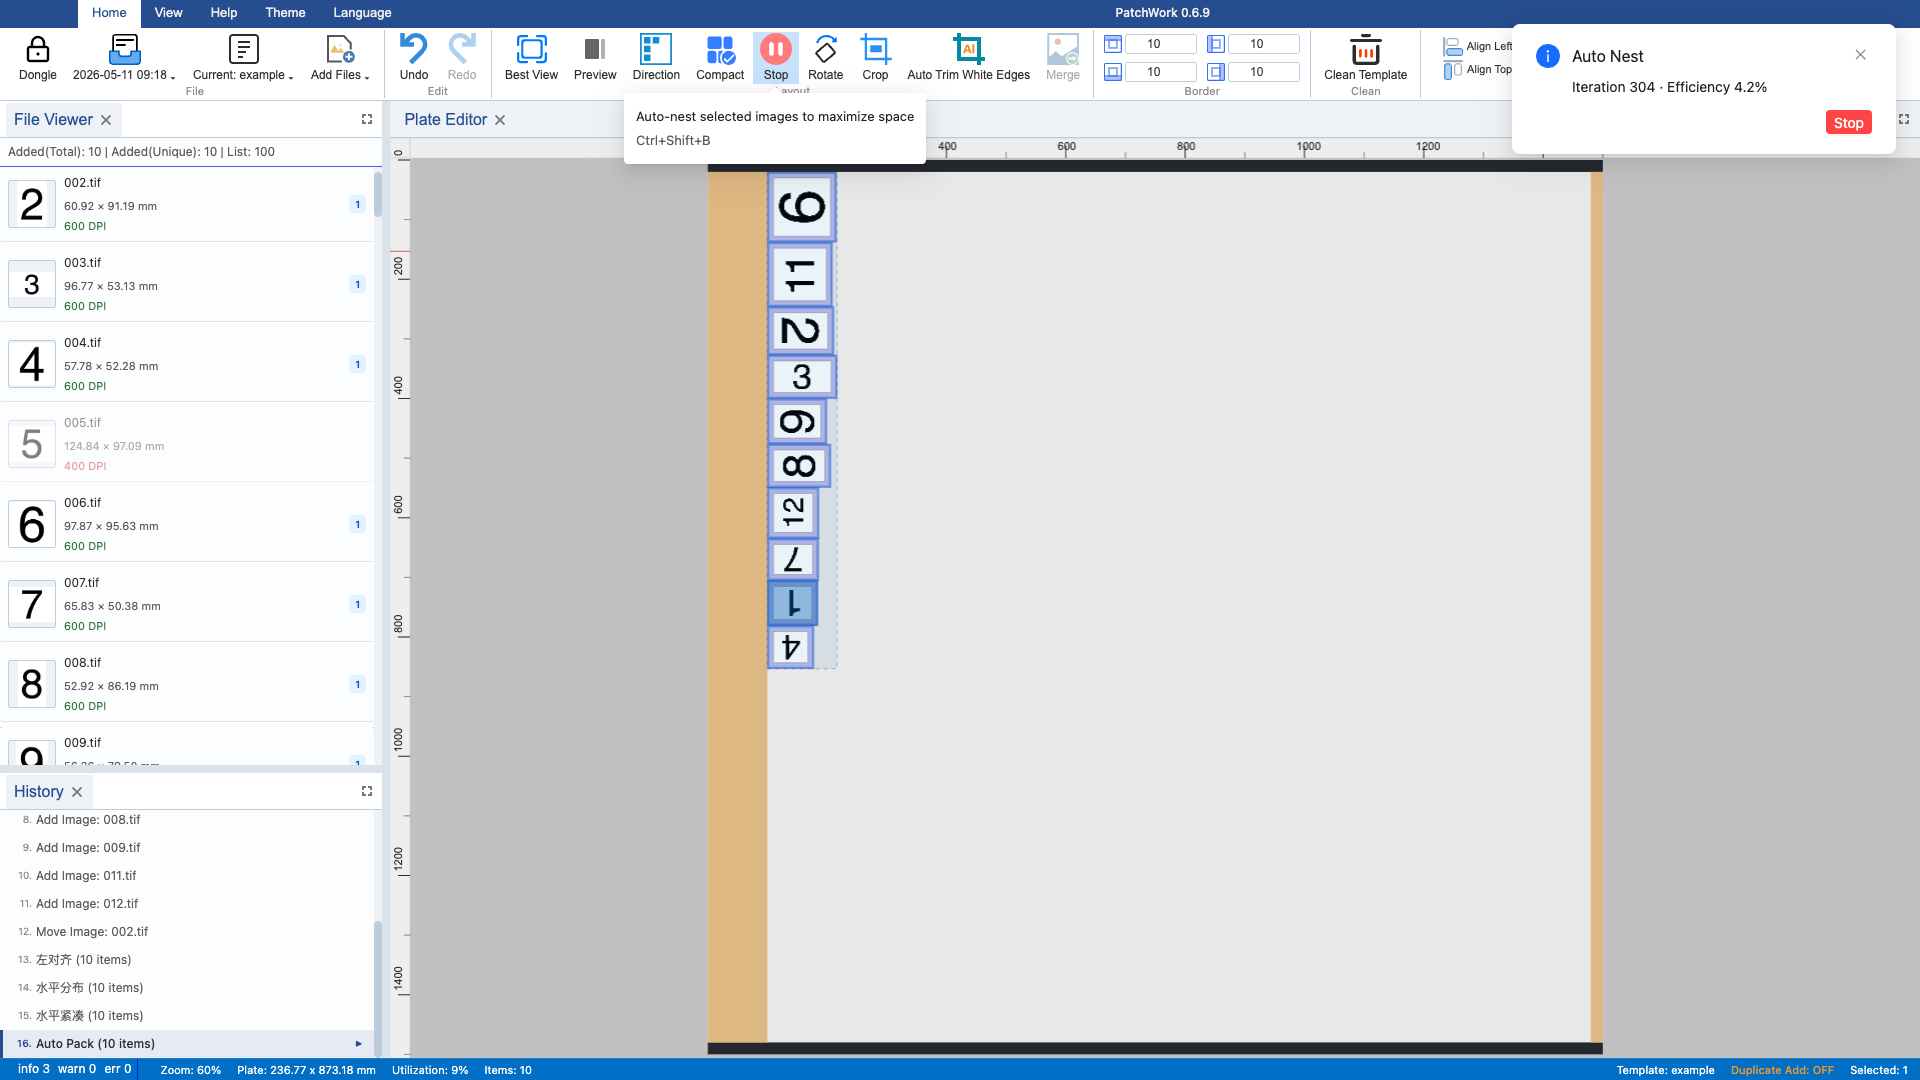
Click the "Auto Nest" button on the Ribbon (Ctrl+Shift+B). The system uses a genetic algorithm for intelligent nesting. Unlike bin packing, nesting supports image rotation for better space utilization. A progress bar is shown during the process. Images are automatically placed at optimal positions upon completion.
11 Best View
Press Ctrl+G to auto-zoom and pan the canvas so the entire plate fits in the viewport. This is the best way to view the overall layout and check if any images extend beyond the plate boundary.